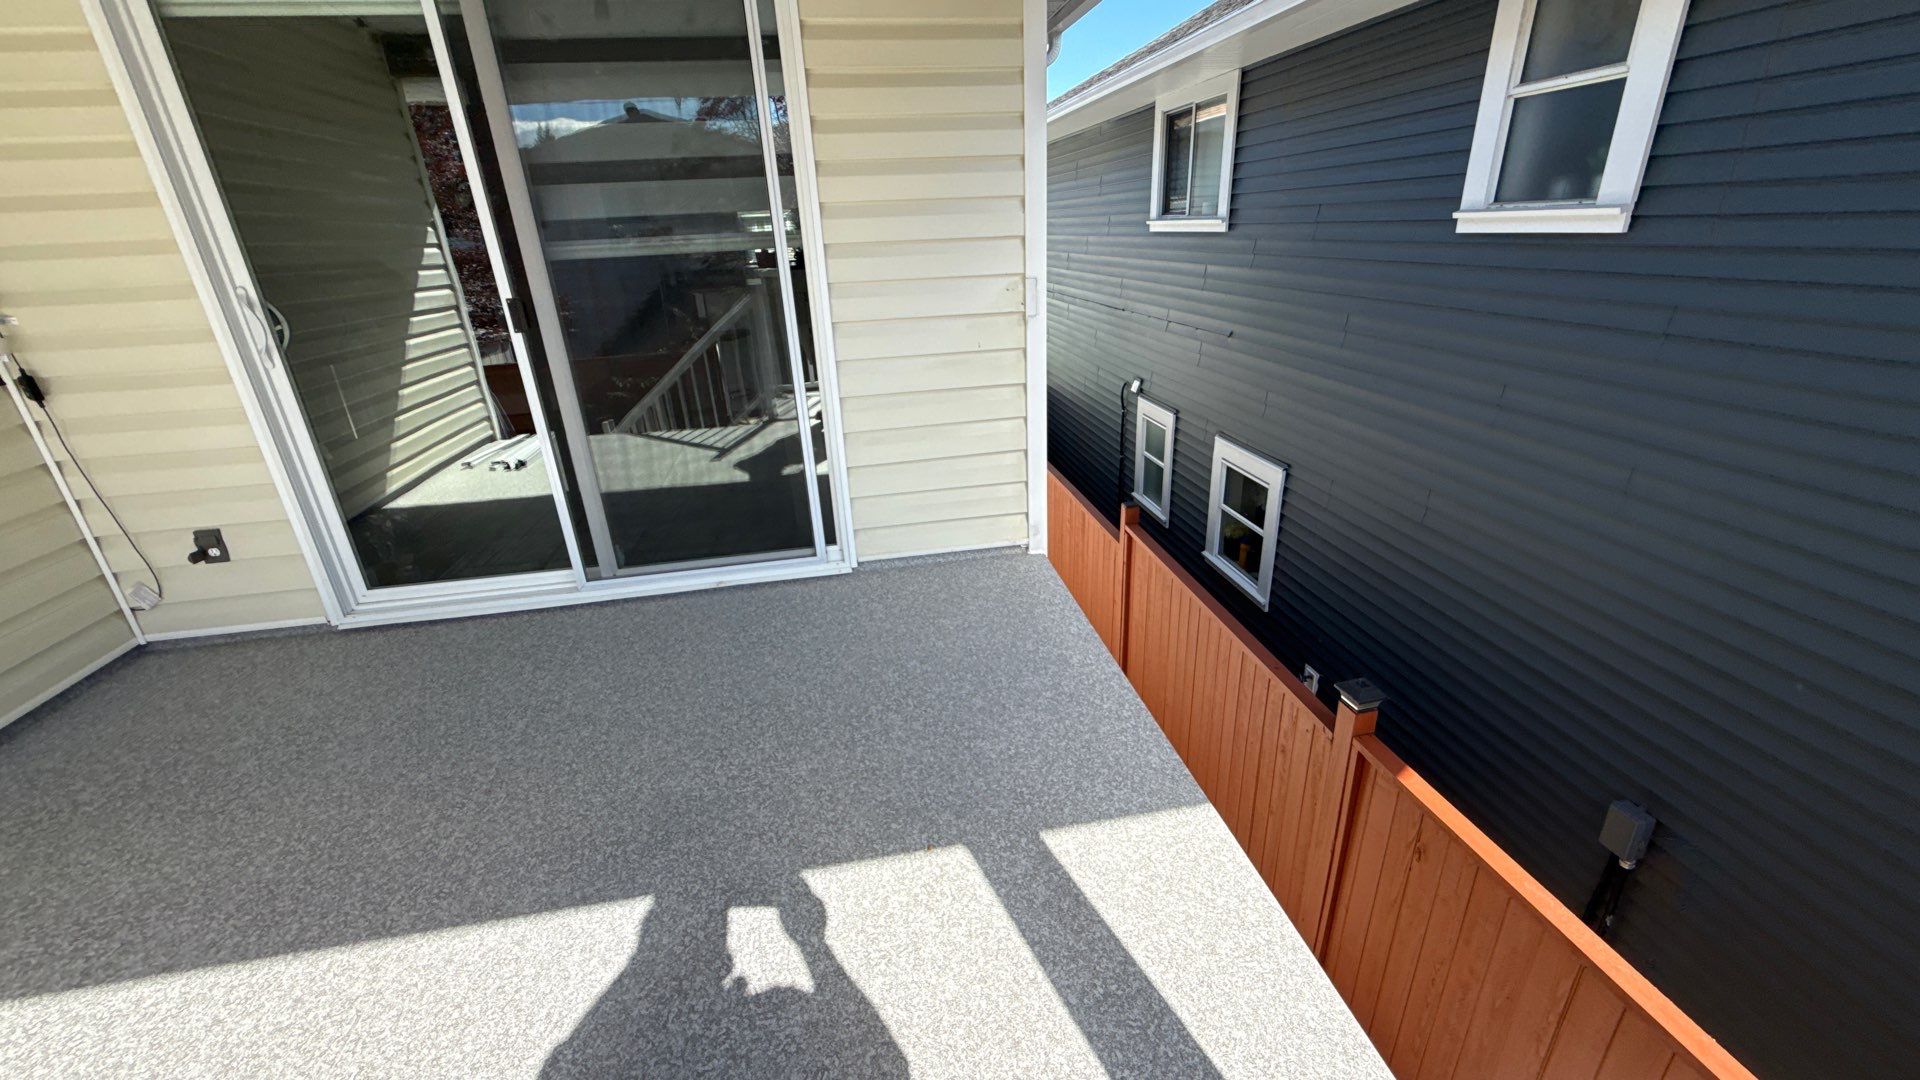
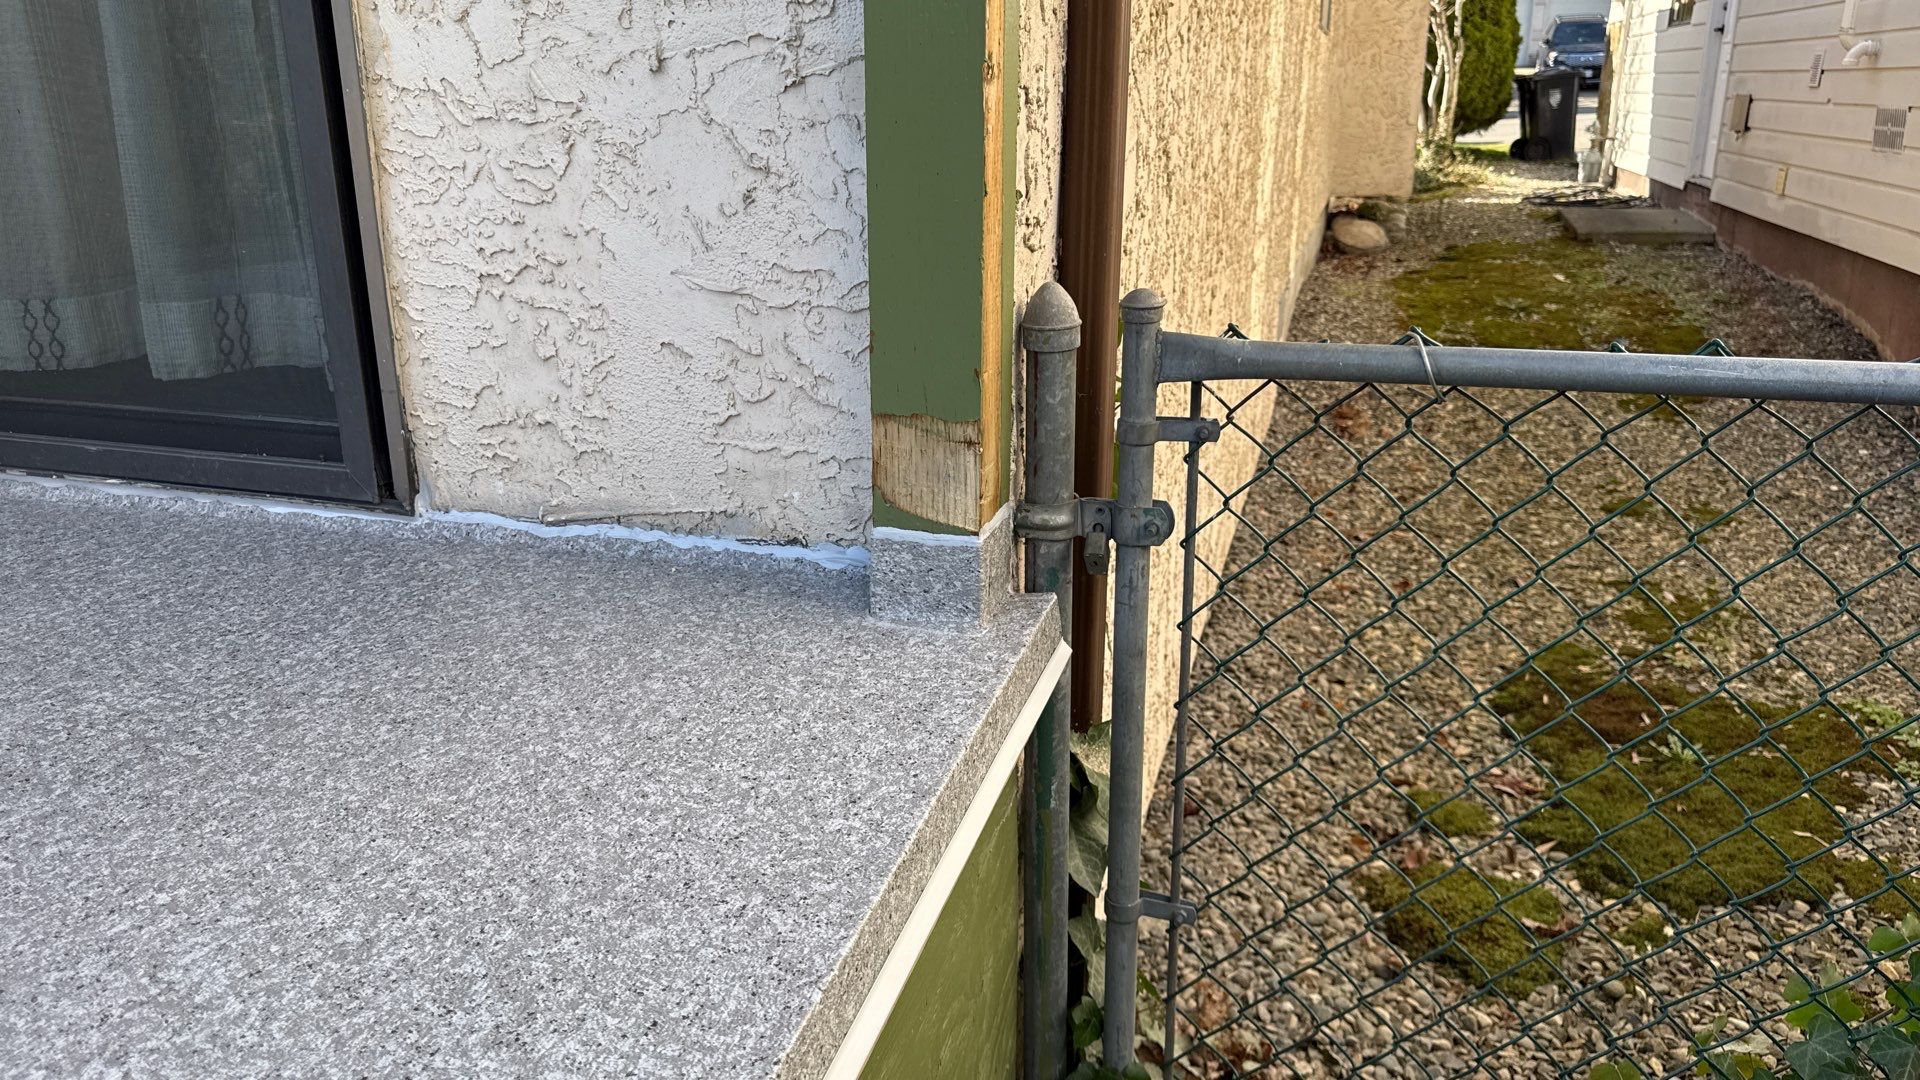
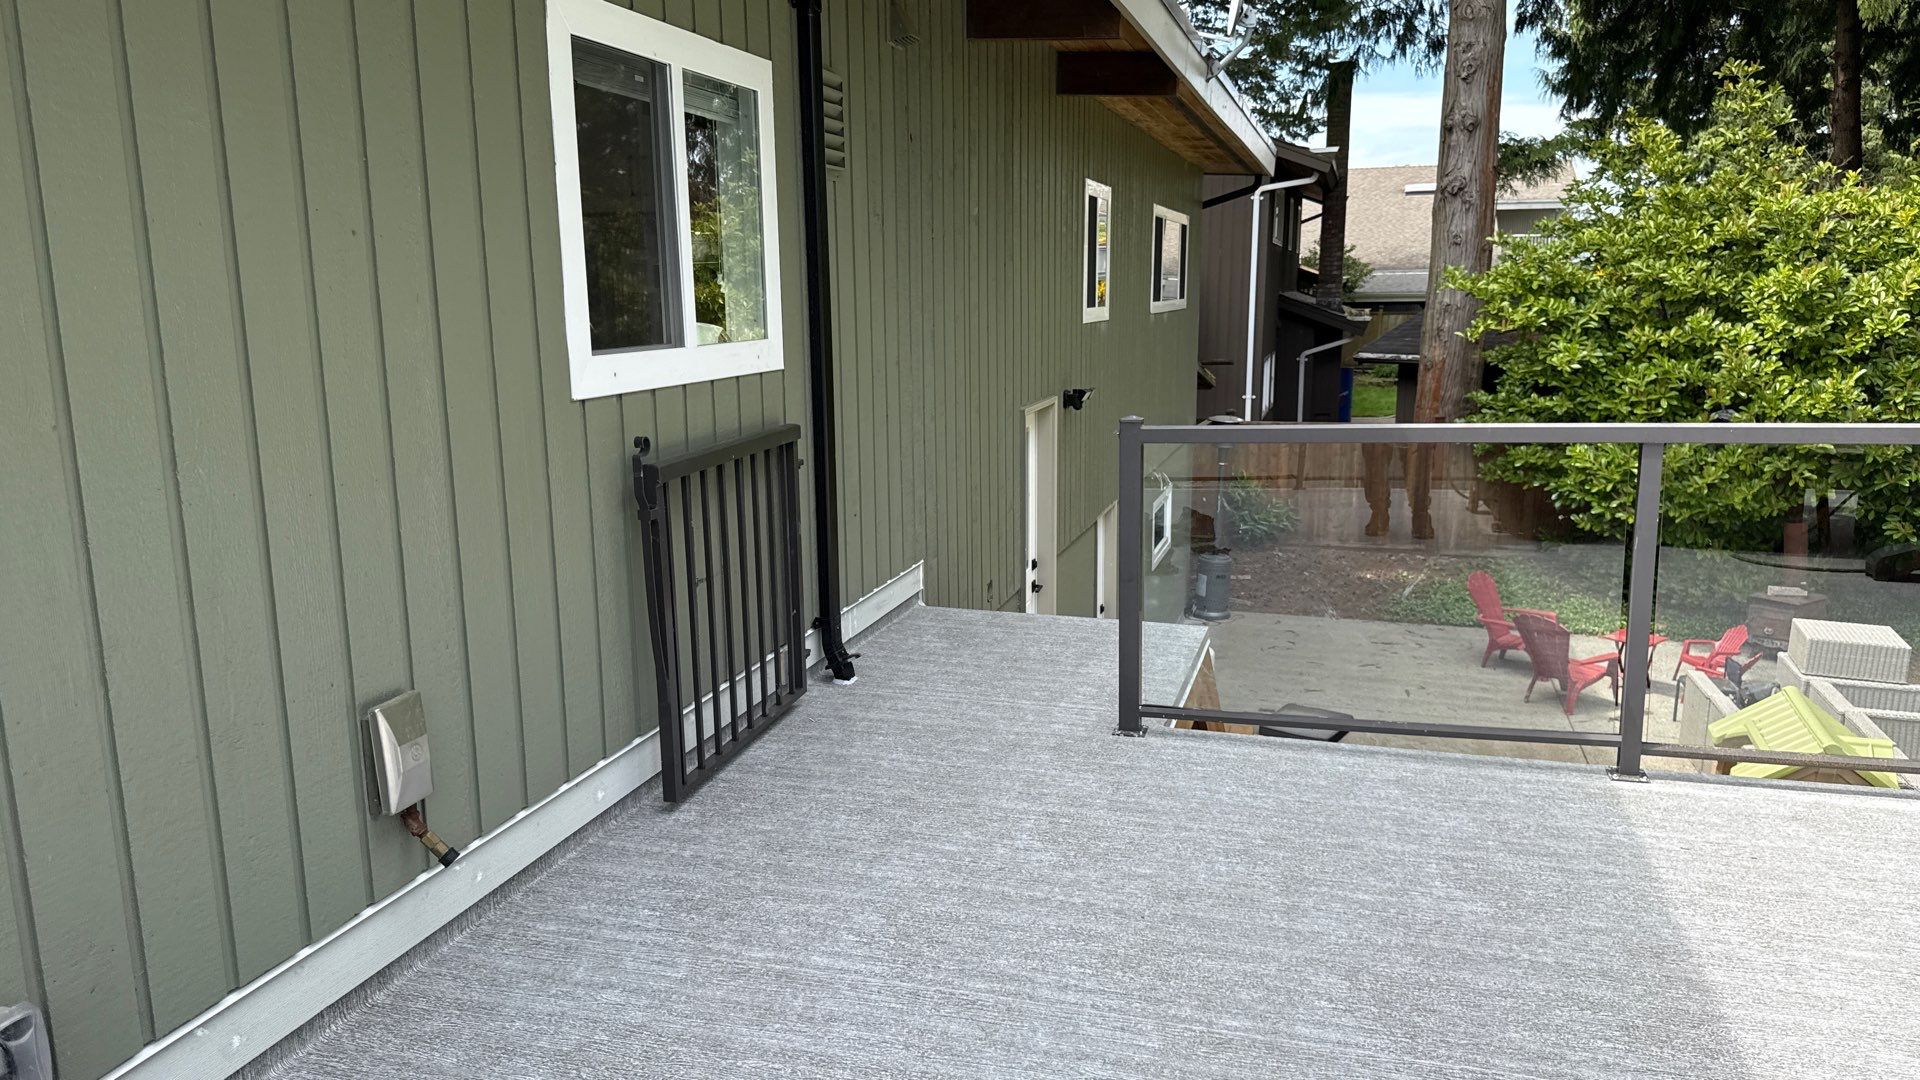
To build a rooftop deck, have an engineer confirm the roof can carry the load, get the permits, plan access, guards and drainage, choose how the deck will be waterproofed, then detail every edge and penetration before the finish goes down. On a flat roof, a walkable membrane such as Valordek can be both the waterproofing and the deck surface.
A rooftop deck is not a ground-level deck lifted into the air. It sits on top of the space you live in, so if the waterproofing fails, the water comes into the house. That changes the order of the work: the structure and the drainage are decided before anyone talks about colours or furniture. Our rooftop deck materials guide compares the surfaces in detail. This guide covers the decisions that come first, in the order they need to be made, so the deck you build on your rooftop stays dry and safe for years.
Step 1: Check what your local rules allow
A rooftop deck usually needs a building permit, because it changes how a roof is used and adds load to the structure. Start with your local building department before any design work, and ask what they will need to see. Expect questions about structure, guards, access, fire safety and drainage.
Other rules can apply too:
- Zoning. Height limits, setbacks and privacy rules can restrict where a deck can go or how high its guards and screens can be.
- Strata, condo or homeowner association approval. If the roof is common property or shared, you need approval before you touch it. Our guide to strata balcony waterproofing in BC explains how that usually works.
- Your home insurance. Tell your insurer about a new rooftop living space.
Step 2: Have an engineer confirm the structure
A structural engineer should confirm that the roof can carry a deck before you commit to one. A roof designed to shed rain and carry snow is not automatically designed for a crowd of people, outdoor furniture and heavy planters.
The engineer looks at the roof framing, how loads travel down to the foundation, and what the deck will carry. That includes people, furniture, planters full of wet soil, snow where you live, and anything heavy you plan to add later. A hot tub on a roof is a separate structural question for the engineer to answer before anything else. If the roof needs reinforcing, that work happens now, while the roof is open.
Step 3: Plan access and guards
Every rooftop deck needs a safe way up and guards around its open sides. Access is usually a door from an upper floor, an exterior stair or a roof hatch, and each one affects the waterproofing.
- A door onto the deck needs a proper pan underneath it and enough height between the deck surface and the door sill. Leaks at this spot are common, as our guide to leaks at the sliding door explains.
- Guards are required around open sides. Your local code sets their height and strength. Guard posts that pass through the deck are penetrations, and every penetration has to be sealed, as covered in our guide to railing post leaks.
- Stairs and hatches need their own flashing where they meet the deck.
Step 4: Design the drainage first
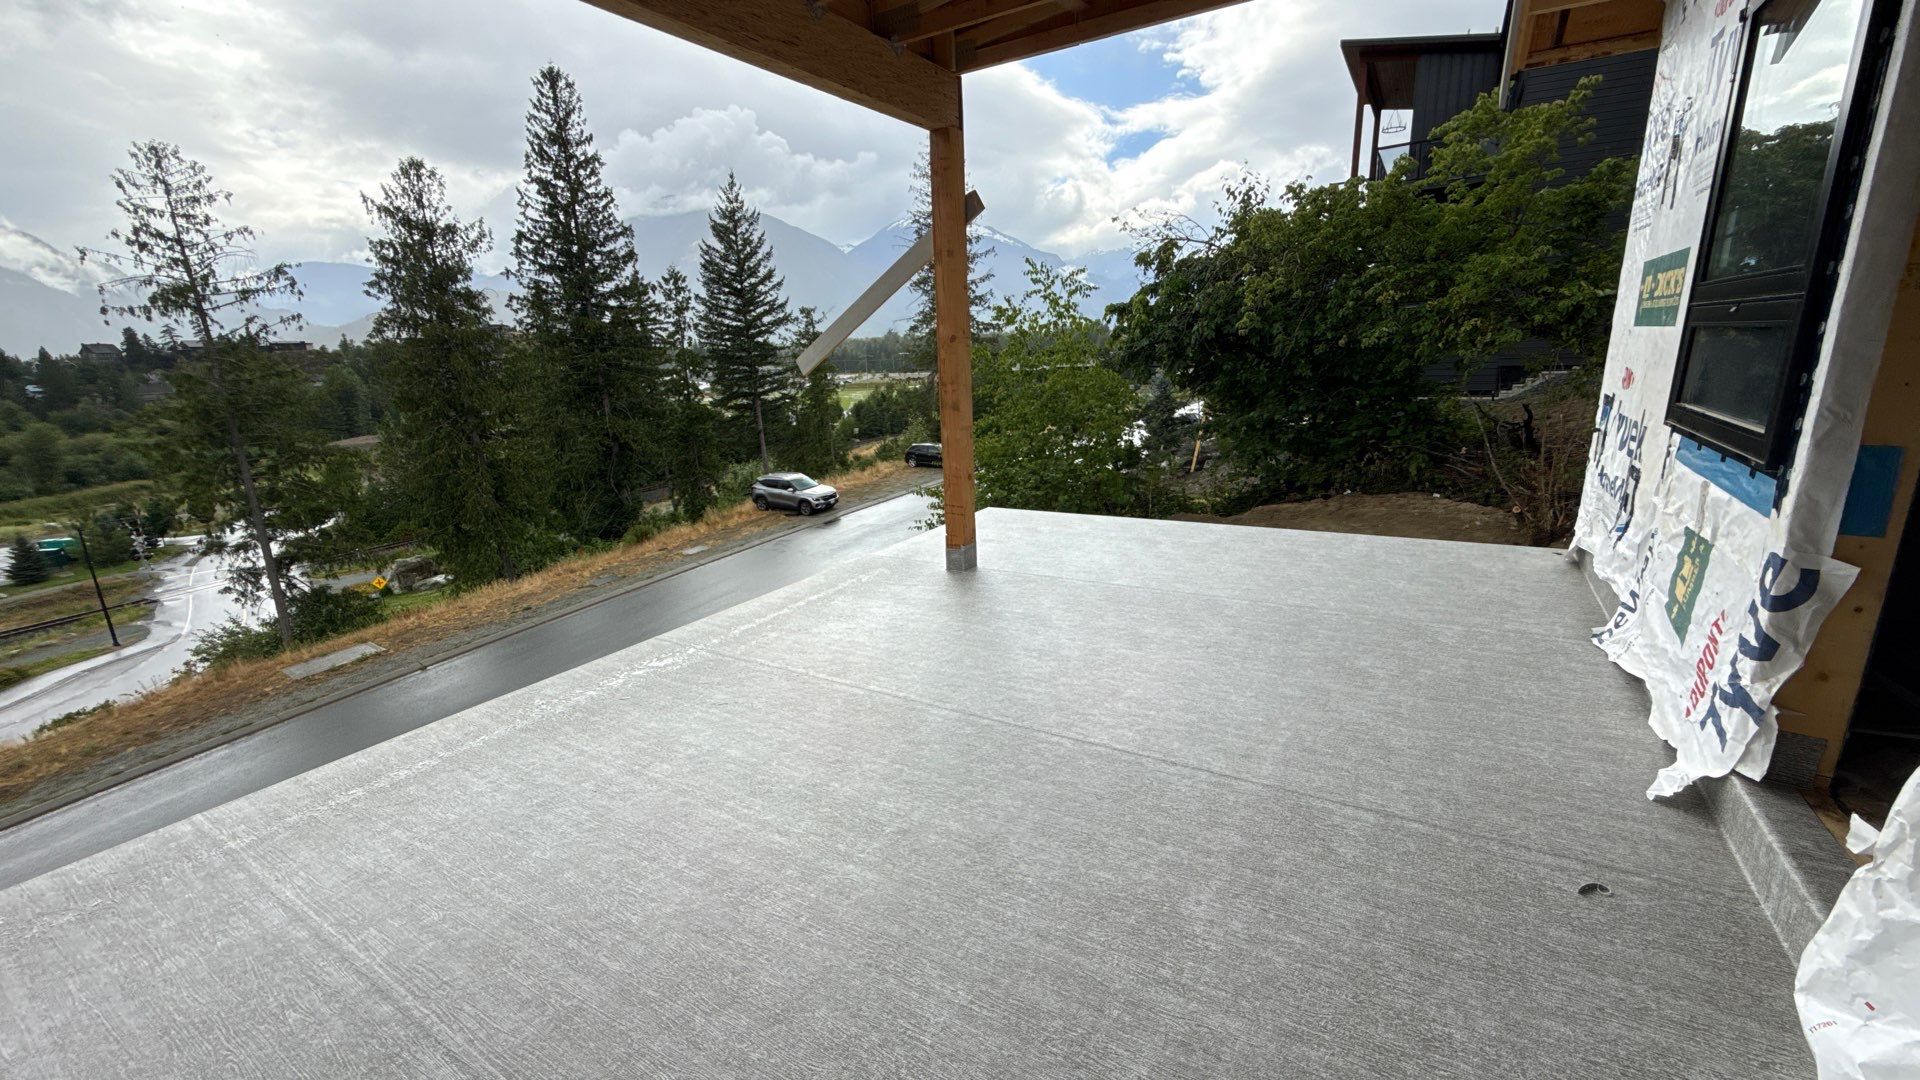
Drainage is designed before the surface, because water that stays on a rooftop deck finds its way into the house. Valordek's installation requirements call for a minimum slope of 1/4 inch per foot, so water runs to drains, scuppers or an open edge instead of sitting on the deck.
A rooftop deck usually drains through scuppers in a parapet wall or through deck drains, with an overflow in case the main drain blocks. The slope is built into the substrate, not added later. Our guide to deck drainage systems explains the options, and Valordek supplies PVC-coated scuppers, deck drains and roof overflows on its accessories page.
Step 5: Choose how the deck will be waterproofed
A rooftop deck is waterproofed in one of two ways: a walkable membrane that is both the waterproofing and the finished floor, or a roof membrane hidden under a raised deck of pavers or boards. The choice affects weight, the height at the door, how leaks are found and what the deck costs.
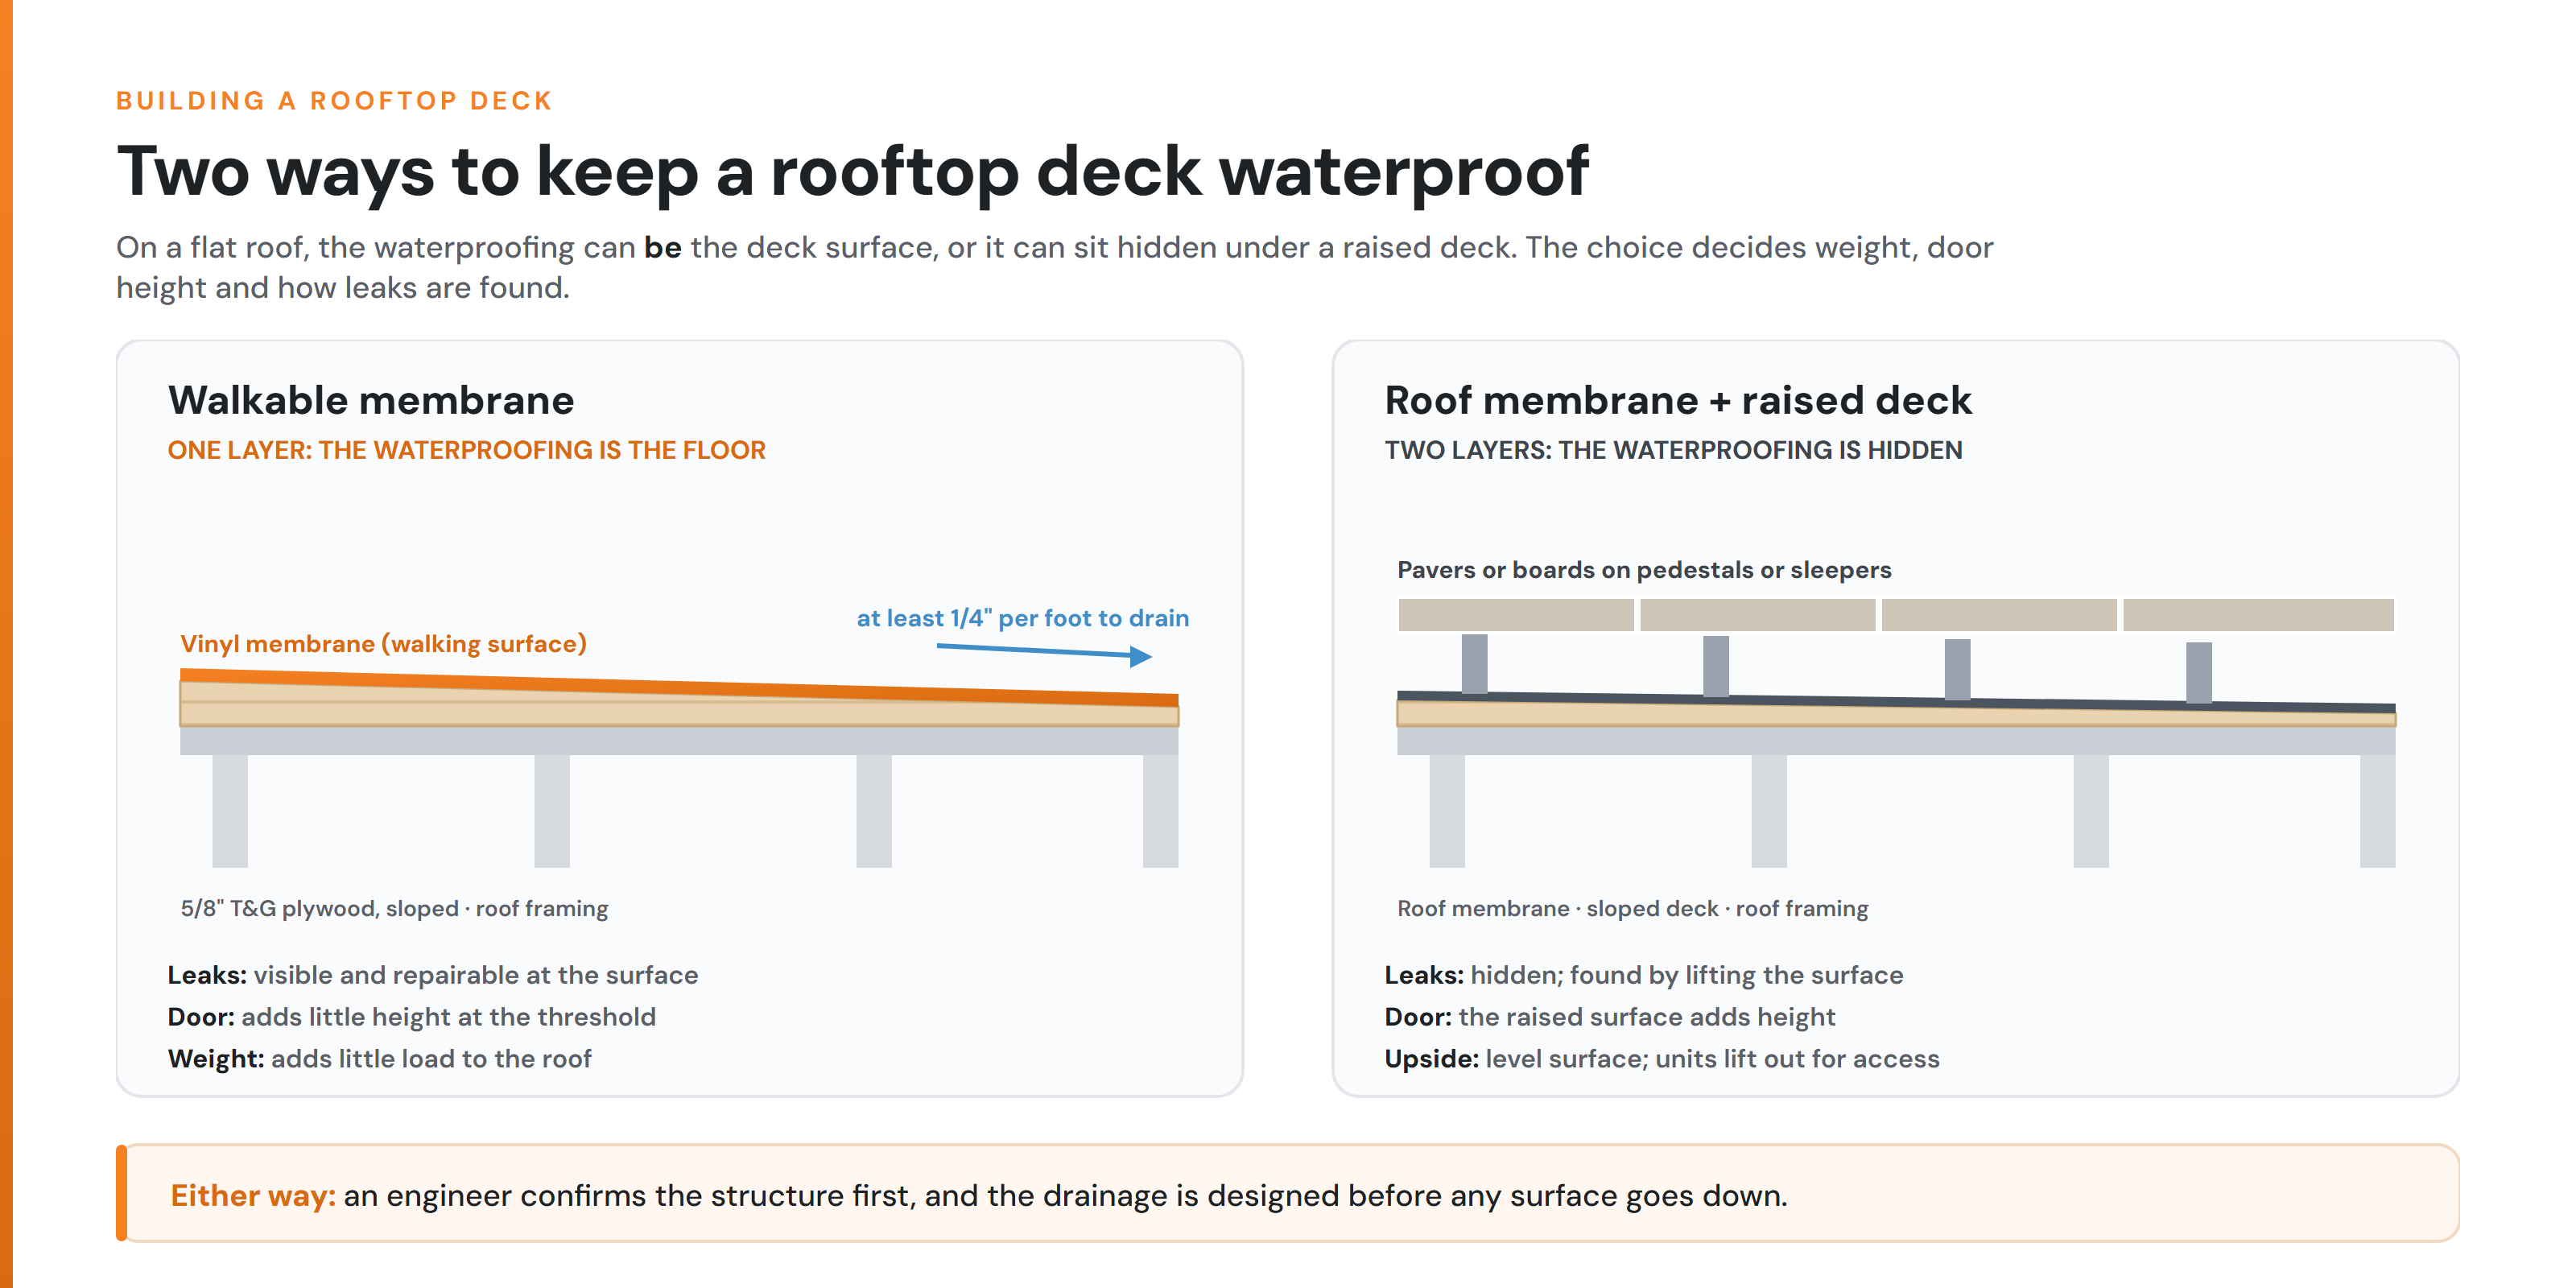
| Walkable membrane (one layer) | Roof membrane plus raised deck (two layers) | |
|---|---|---|
| Waterproofing | The membrane is the walking surface, with heat-welded seams | A roof membrane under pavers on pedestals, or boards on sleepers |
| Finding a leak | Visible and repairable at the surface | Hidden; the surface has to be lifted to reach the membrane |
| Height at the door | Adds little height | The raised surface adds height at the threshold |
| Weight on the roof | Adds little load | Pavers add significant load; the engineer must allow for it |
| Surface | Follows the slope of the deck | Can be built level above a sloped roof |
| Valordek example | Smooth-Back 60 mil: Class A and C fire rating, 15-year waterproofing and 5-year appearance warranty | Not a Valordek system |
| Temperature range | -40°C to 80°C for Valordek | Depends on the products used |
| Maintenance | Regular cleaning and an annual sealant check | Cleaning the surface, plus clearing debris that collects underneath |
Neither approach is right for every roof. A walkable membrane is simpler, lighter and easier to inspect. A raised deck can sit level over an uneven roof and lets you swap surface units, at the cost of extra weight, height and hidden waterproofing. Our rooftop deck materials guide compares pavers, tiles, wood and composite in more detail, and our guide to waterproofing a deck over living space covers the assembly underneath.
Step 6: Detail the edges, walls and penetrations
Rooftop deck leaks usually start at an edge or an opening, not in the middle of the deck. These are the details to get right before the finish goes down:
- Walls and parapets. The membrane turns up the wall and is flashed so water cannot get behind it. Our guide to leaks where the deck meets the wall shows why this detail matters so much.
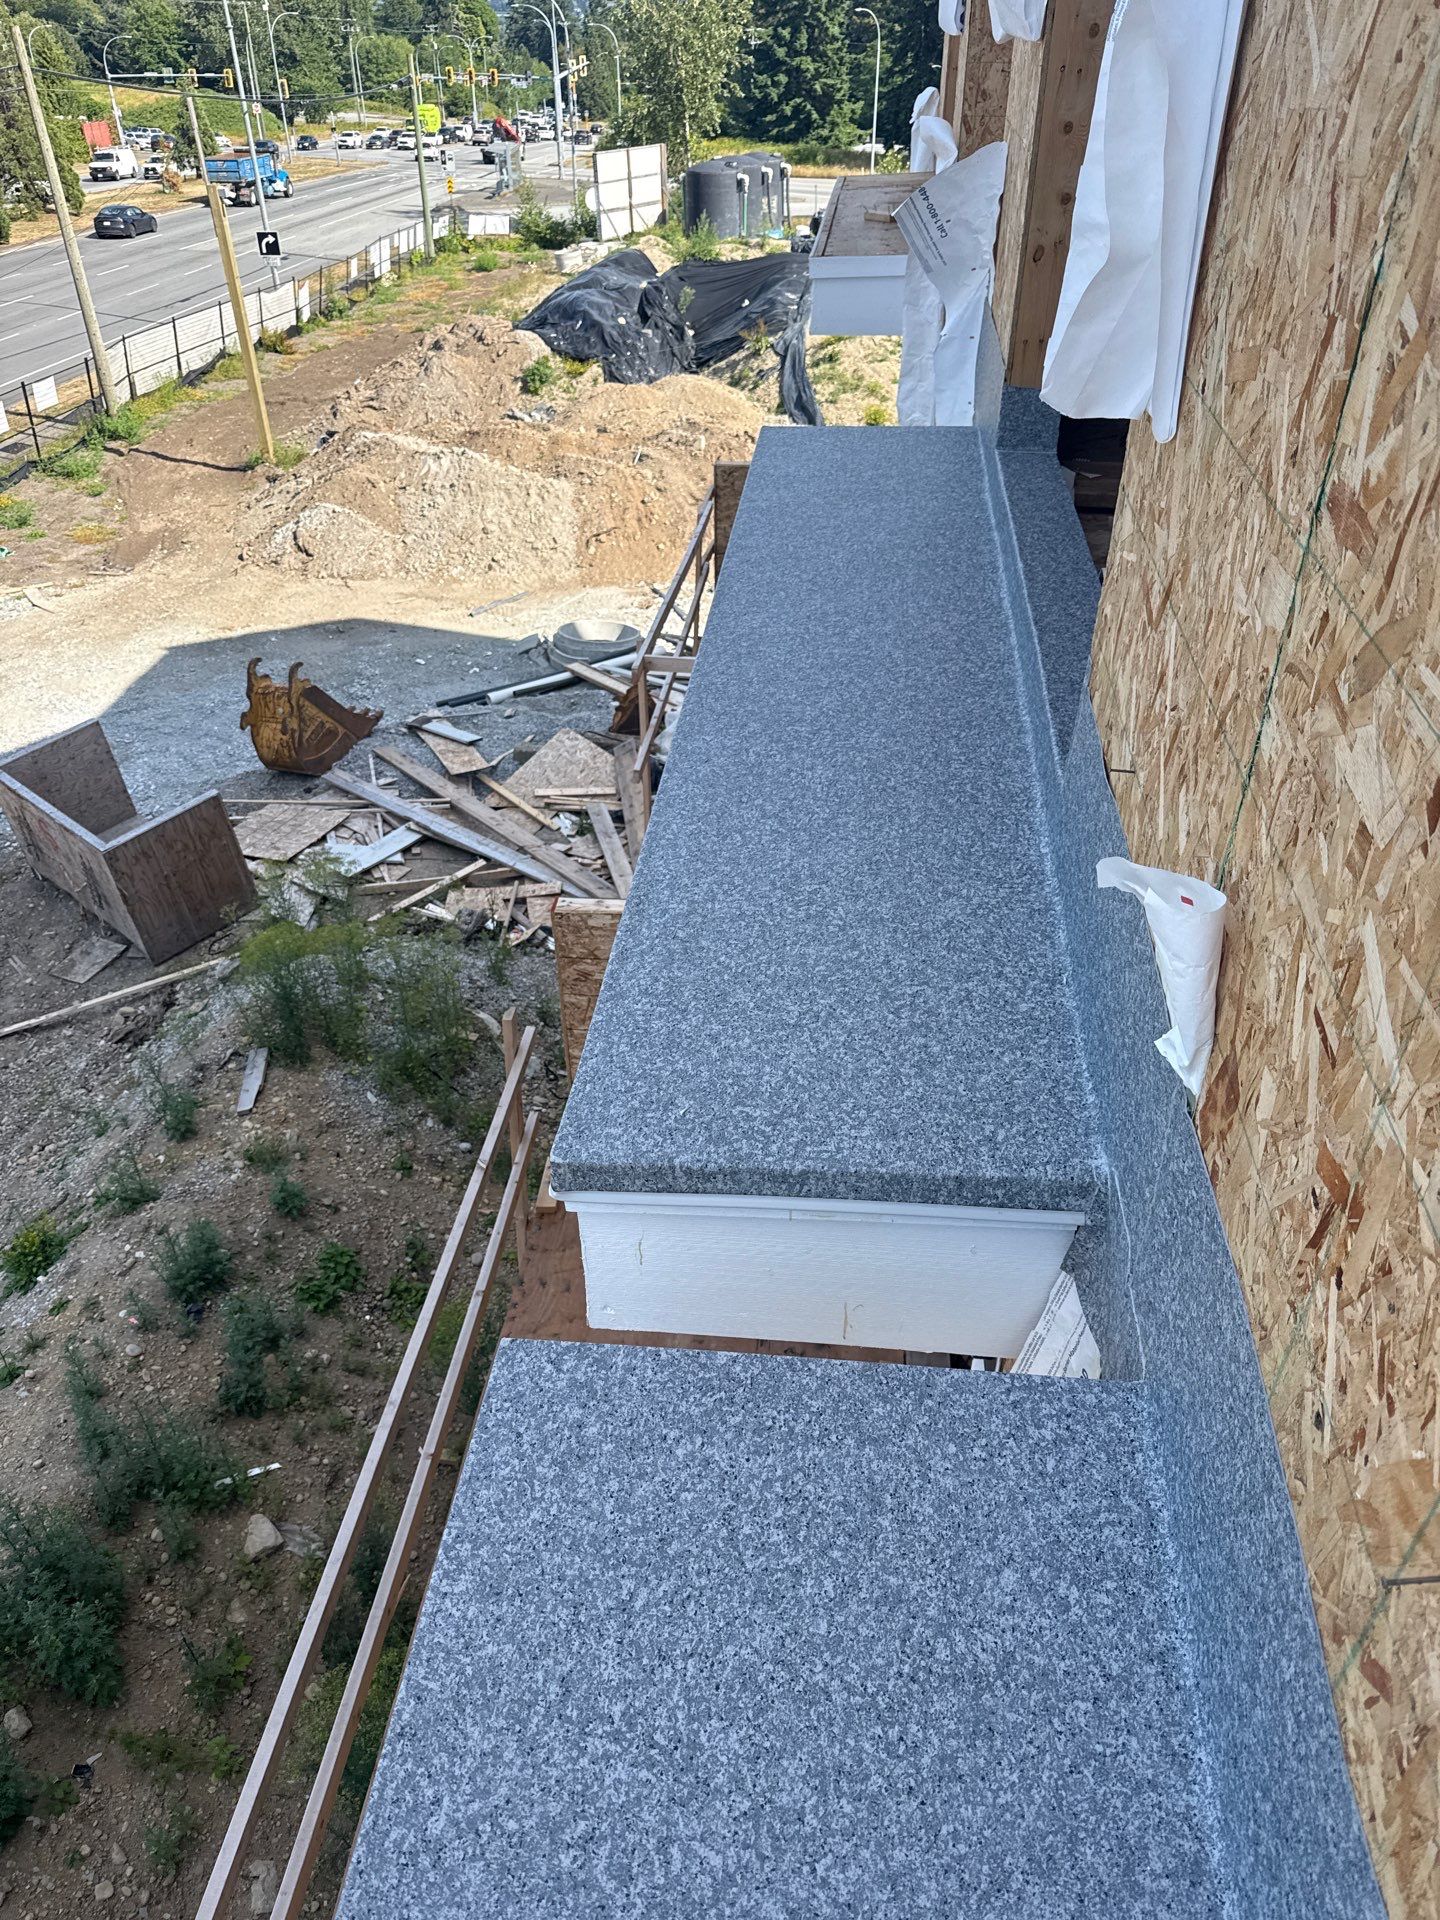
- Open edges. Drip flashing carries water off the edge and away from the fascia below. On an open deck, Valordek's Smooth-Back membrane requires PVC flashing.
- Doors. A pan under the threshold, lapped correctly with the membrane.
- Penetrations. Guard posts, drains, vents and anything else that passes through the deck. Every one is sealed, and the fewer there are, the better.
Step 7: Choose the finish, furniture and shade
Once the structure, drainage and waterproofing are settled, the deck becomes a living space. Valordek comes in Wood Look, Stone Look and Classic styles, and the deck visualizer lets you see colours on a photo of your own home first.
Plan the furniture and shade with the waterproofing in mind. Use glides or pads under furniture legs, keep planters raised so water can drain under them, and favour freestanding or weighted shade structures over anything that has to be fastened through the deck. If something must be fastened, it becomes a penetration that needs the same care as a guard post. Our summer care guide covers rugs, mats and heat.
Valordek's rooftop membrane: what to know
Valordek's membrane for rooftop decks is Smooth-Back, a 60 mil vinyl membrane tested by Intertek that exceeds standards for code 37.54.95 and carries a Class A and C fire rating. It is bonded with contact adhesive (Sika 2170-R), its seams are heat-welded, and it requires PVC flashing when installed on an open deck. Valordek specifies professional installation for Smooth-Back.
- Colours: Smooth-Back is available in two Classic colours, Grey Stone and Beige Stone.
- Warranty: 15 years on waterproofing and 5 years on appearance, valid when a certified installer uses Valordek-approved adhesives and system components. Full terms are on the warranty page.
- Climate: rated for -40°C to 80°C.
- Substrate: clean, dry, smooth 5/8-inch tongue-and-groove plywood or untreated concrete, sloped at least 1/4 inch per foot.
Test results and code details are on the certifications page, and our guide to deck waterproofing code requirements explains what the standards cover.
What a rooftop deck costs
The cost of a rooftop deck depends far more on the structure, access and guards than on the surface. The membrane is the most predictable part: Valordek membrane is $3.74 per square foot, so 300 square feet of membrane comes to $1,122 before adhesive, flashing, drains and installation.
| Cost line | What drives it |
|---|---|
| Engineering and permits | Your jurisdiction and how much design work the deck needs |
| Structure | Whether the roof needs reinforcing, and how much |
| Access | A new door, stair or hatch, and its waterproofing |
| Guards | Length of open edges and the guard system chosen |
| Substrate and slope | New sloped plywood and how much fall it needs |
| Drainage | Number of drains, scuppers and overflows |
| Waterproofing | Deck area, number of edges, walls and penetrations |
| Finish | Membrane only, or a raised surface on top of a roof membrane |
For a material estimate, use the Valordek cost calculator, and see our vinyl decking cost guide for the full picture. For an overview of the product itself, visit the Valordek vinyl decking page.
Frequently asked questions about building a rooftop deck
Can you build a rooftop deck on a sloped roof?
Yes, but not directly on the roofing. On a pitched roof, a rooftop deck is a framed platform built level above the roof and engineered to carry its load, with its own waterproofing. A walkable membrane like Valordek needs a low-slope surface, sloped at least 1/4 inch per foot to drain, not a steep roof.
How much does it cost to build a rooftop deck?
Costs vary widely because the structure, access and guards usually cost more than the surface. Engineering, permits, any roof reinforcement, a door or stair, guards and drainage all add up. The membrane is the predictable part: Valordek is $3.74 per square foot. Get the engineer's findings first, then an itemized quote.
Can I put a rooftop deck on my house?
Often, if the roof structure can carry the load and local rules allow it. Start with your building department and a structural engineer. They will confirm whether the roof can be reinforced if needed, how the deck can be accessed, what guards it needs and how it will drain before any design work goes ahead.
What is the best surface for a rooftop deck?
The best surface depends on the roof. A walkable vinyl membrane such as Valordek's Smooth-Back is light, waterproof and easy to inspect, with a Class A and C fire rating. Pavers or boards on a raised frame suit uneven roofs but add weight and hide the waterproofing. Our rooftop materials guide compares them.
Will a rooftop deck leak into the house?
Not if it is designed and built properly. Rooftop leaks usually start at walls, doors, edges and penetrations, or where water ponds. Slope the deck at least 1/4 inch per foot, detail every edge and opening carefully, and inspect the sealant every year. Valordek's waterproofing warranty covers the membrane itself for 15 years, subject to its terms.