
Vinyl decking is installed by bonding a PVC membrane to a prepared plywood substrate using contact adhesive, then heat-welding the seams to create a continuous waterproof surface. The process takes most professionals one to two days for a standard balcony. Proper substrate preparation is the single most important factor in a successful installation, and it accounts for roughly half the total labour time.
Whether you are a homeowner considering a DIY project, a contractor quoting your first vinyl membrane job, or a property manager evaluating options for a balcony renewal, understanding the installation process helps you plan your project and communicate with installers. This guide walks through every step of a Valordek vinyl decking installation, from inspecting the plywood to the final quality check.
Overview: What Does the Installation Process Look Like?
A Valordek vinyl decking installation follows seven steps in a fixed sequence. Skipping or rushing any step compromises the waterproof bond that protects the structure below. Here is the full process at a glance:
- Substrate preparation: inspect, repair, and sand the plywood surface
- Measuring and cutting: lay out the membrane and cut to fit the deck shape
- Applying contact adhesive: roll adhesive onto both the plywood and the membrane backing
- Rolling and bonding: position the membrane and press it firmly into the adhesive
- Heat-welding seams: fuse overlapping membrane edges with a hot air welder
- Flashing and edge details: seal all transitions, drip edges, and penetrations
- Final inspection: check every seam, edge, and drain for complete adhesion
Valordek membranes come in 72-inch-wide rolls up to 480 lineal feet, which means most residential balconies can be covered with one or two sheets and minimal seams. Fewer seams means fewer potential failure points. That roll width is wider than most competing products, and it is one of the reasons installers prefer working with Valordek. For full product specifications, see the vinyl deck membrane page.
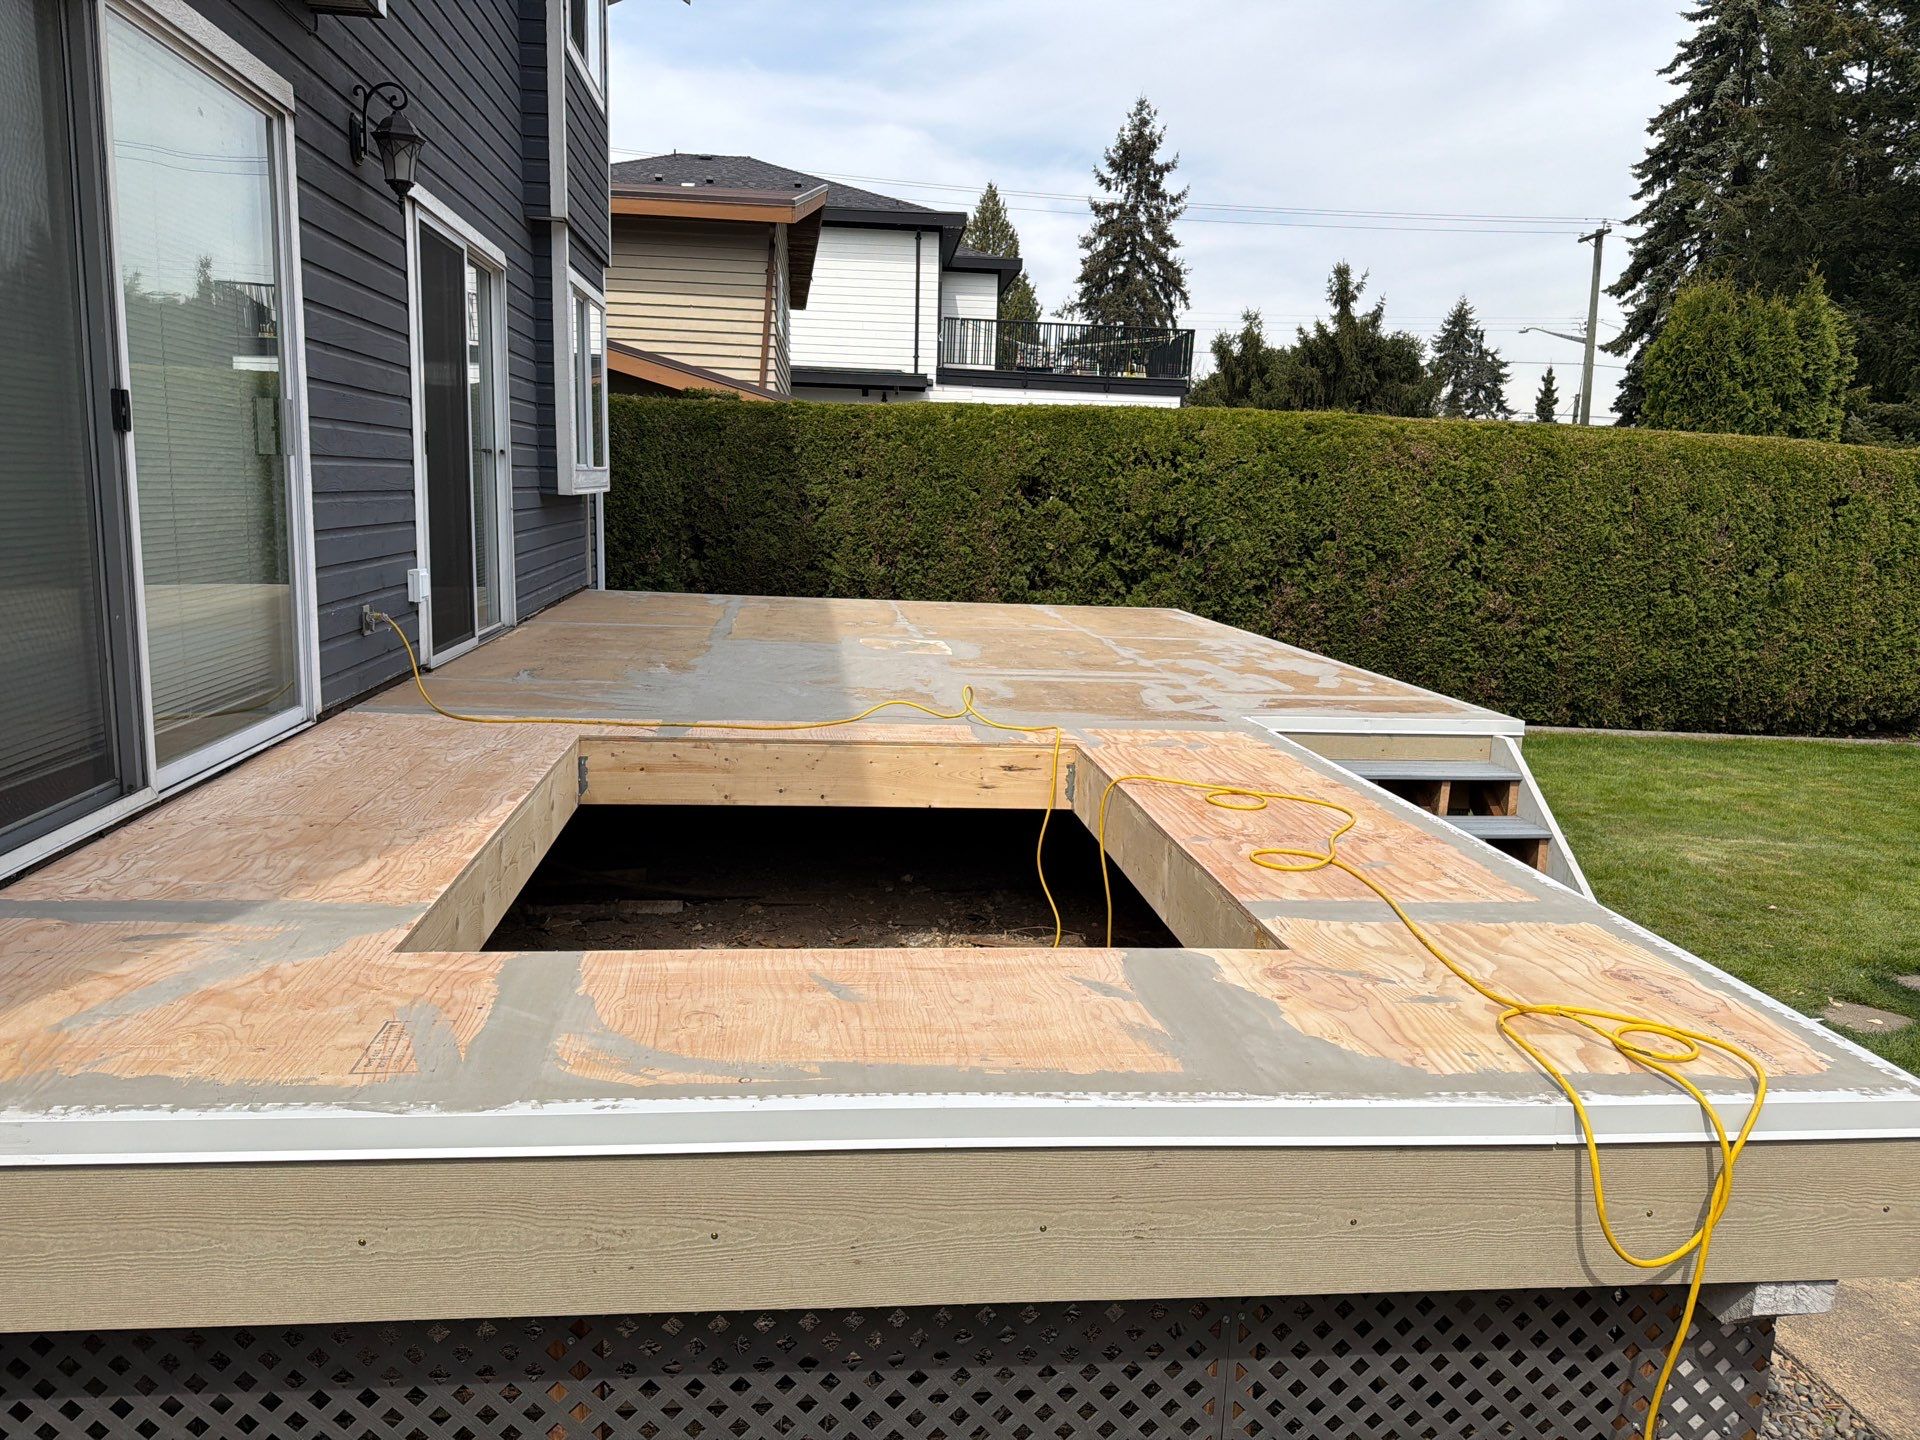
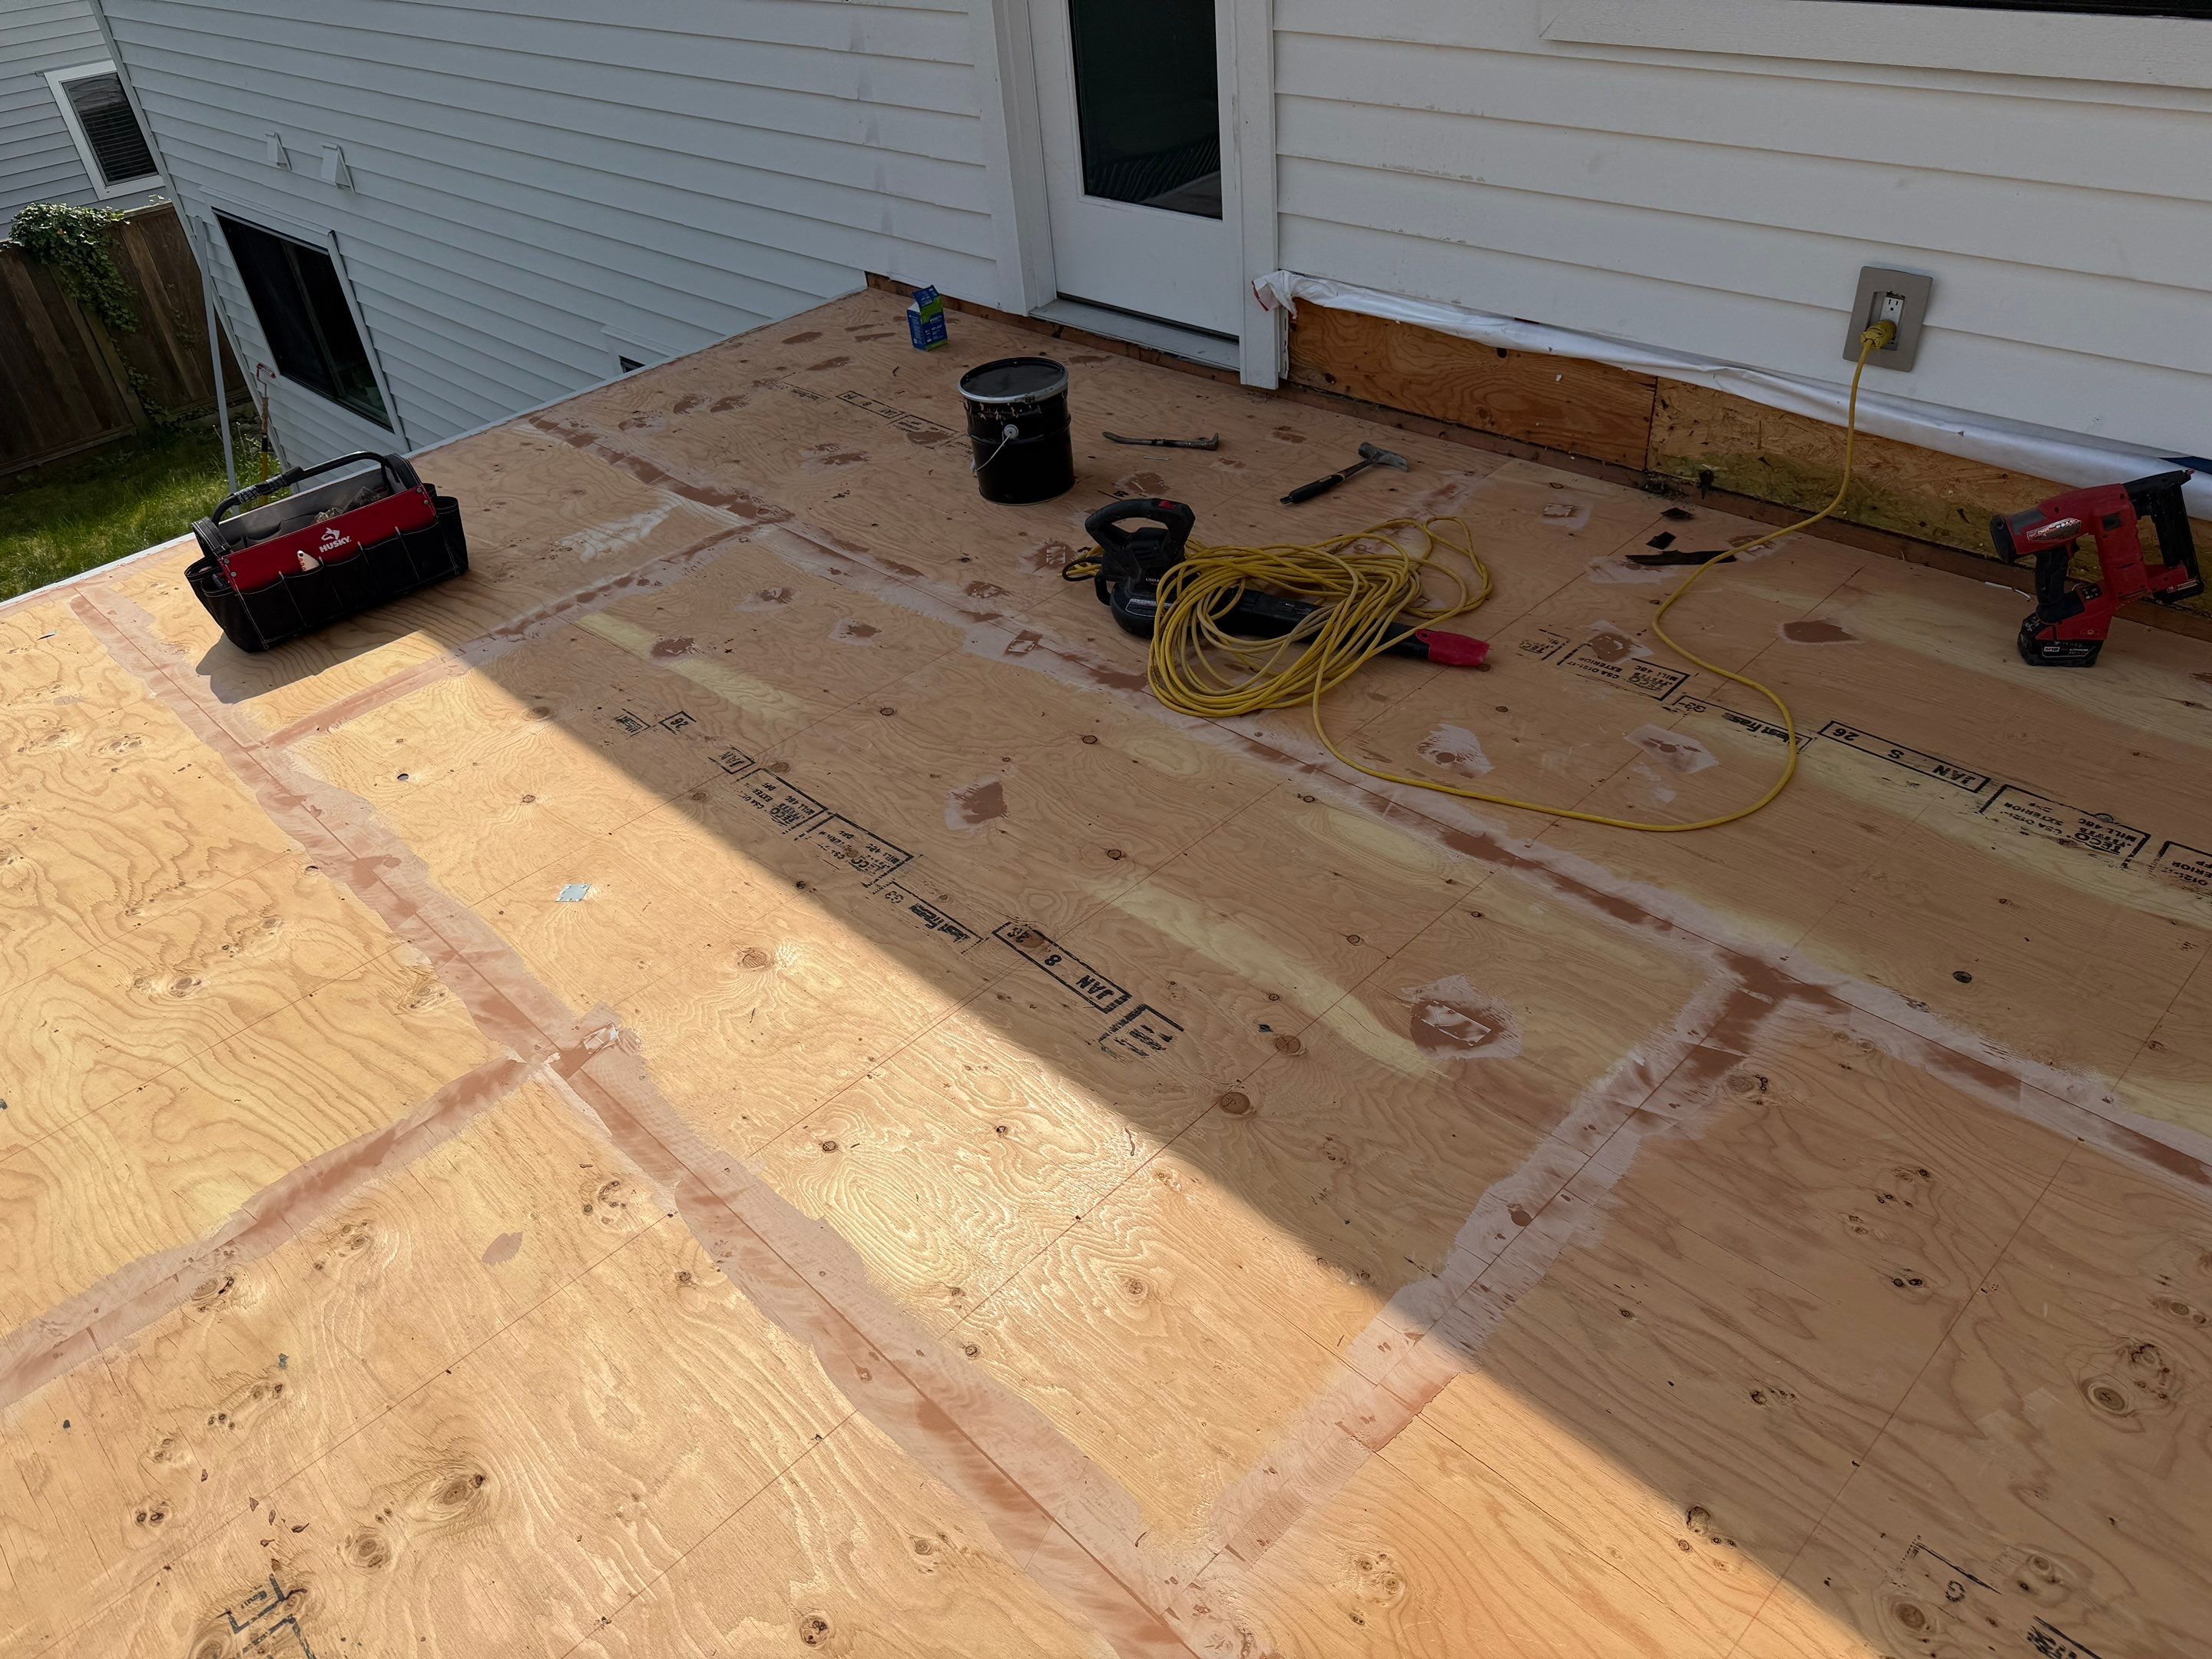
Step 1: Substrate Preparation
Every vinyl decking installation begins with the surface underneath. The substrate is the foundation of the entire waterproofing system. If the plywood is damaged, uneven, or contaminated, the adhesive will not bond properly and the membrane will eventually lift or bubble.
Best substrate: 5/8-inch tongue-and-groove plywood is the standard for Valordek installations. Untreated concrete is also acceptable. The surface must be clean, dry, smooth, and free of loose paint, oil, dust, or debris.
Here is what substrate preparation involves:
- Inspect the plywood. Walk the entire surface and check for soft spots, delamination, rot, or water damage. Any compromised plywood must be replaced before the membrane goes down. There is no shortcut here.
- Fill holes and low spots. Use a patching compound like MAPEI Planipatch to fill screw holes, knot holes, joints, and any depressions. The surface needs to be consistently flat because the membrane will telegraph every imperfection underneath it.
- Sand the surface smooth. Use 60 or 80-grit sanding disks to knock down high spots, rough patches, and dried filler. Valordek sanding disks are available through the accessories page. The goal is a uniformly smooth surface with enough tooth for the adhesive to grip.
- Clean thoroughly. Sweep, vacuum, or blow off all dust and debris. Any particles left on the plywood will be trapped under the membrane and can cause adhesion failure over time.
- Verify slope and drainage. The deck must slope a minimum of 1/8 inch per foot toward the drains or drip edge. Water that pools on the membrane will not damage the PVC itself (Valordek is rated from -40 degrees C to 80 degrees C), but standing water accelerates dirt buildup and can void certain warranty conditions.
Substrate preparation is where most installation problems originate. A detailed guide on plywood requirements and preparation is covered in our article on installing vinyl decking over plywood.
Step 2: Measuring and Cutting the Membrane
With the substrate prepped, the next step is laying out the Valordek membrane and cutting it to fit the deck's dimensions. Accuracy here saves time and material.
- Measure the deck area. Account for all edges, corners, posts, and penetrations (drains, scuppers, door thresholds). Add 3 to 4 inches of overhang on all edges for trimming after the membrane is bonded.
- Plan seam locations. Seams should run in the same direction as the slope so water flows across seams rather than pooling against them. With Valordek's 72-inch roll width, a standard 6-foot-deep balcony often needs only a single sheet with no longitudinal seams.
- Unroll and acclimate. Lay the membrane flat on the deck for 15 to 30 minutes so it relaxes and flattens. Vinyl that has been stored in a roll will have memory curl. Letting it rest makes positioning easier and reduces the chance of trapped air bubbles during bonding.
- Cut to size. Use a sharp utility knife and a straight edge. Cut pieces slightly oversized. It is always easier to trim excess after bonding than to stretch a piece that was cut too short.
Step 3: Applying Contact Adhesive
Contact adhesive is applied to both surfaces: the plywood substrate and the back of the membrane. When the two adhesive-coated surfaces press together, the bond is immediate and permanent. This is why it is called contact adhesive.
Which adhesive to use depends on the product line:
- Valordek 68mil Fuzzy-Back: Use Valordek Contact Adhesive VD 0295 or VD 0220. These are solvent-based adhesives formulated specifically for the fleece backing on Valordek's 68mil membrane.
- Valordek 60mil Smooth-Back: Use Sika 2170-R contact adhesive. This adhesive is engineered for the PVC backing on the 60mil membrane used in rooftop deck applications.
- Low-VOC alternative: DuraPro AF 3275 is a water-based latex adhesive option for situations where solvent-based products are restricted.
Application steps:
- Fold half of the membrane back on itself, exposing half the plywood and half the membrane backing.
- Apply adhesive to the exposed plywood using a paint roller or V-notch trowel. Apply in even, consistent coverage. Do not leave dry spots or puddles.
- Apply adhesive to the exposed membrane backing in the same manner.
- Allow both surfaces to become tacky. The wait time depends on temperature and humidity, but typically runs 15 to 30 minutes. The adhesive should feel sticky to a light touch but should not transfer to your finger. This open time is critical. Bonding too early (wet adhesive) causes bubbles. Bonding too late (dried adhesive) causes weak adhesion.
Using the correct Valordek-approved adhesive is a warranty requirement. The specific adhesive formulations are matched to each membrane's backing material for maximum bond strength. All adhesives are available through authorized Valordek dealers.
Step 4: Rolling and Bonding the Membrane
Once both surfaces are at the proper tack, it is time to bond the membrane to the plywood. This is the step where precision matters most, because contact adhesive bonds on first touch. You cannot lift and reposition the membrane once it makes contact.
- Lower the membrane carefully. Starting from the folded centre line, slowly lower the membrane onto the plywood. Work from the centre outward to prevent air from getting trapped underneath.
- Roll with a J-roller or hand roller. Press the membrane firmly into the adhesive by rolling the entire surface with a heavy J-roller. Apply consistent, firm pressure. Pay extra attention to edges, corners, and areas around drains or penetrations where the membrane needs to conform to changes in the surface plane.
- Repeat for the second half. Fold the unbonded half back, apply adhesive to both surfaces, wait for proper tack, and bond in the same manner.
- Check for air pockets. Walk the entire surface and feel for any soft spots or bubbles. Small air pockets can be slit with a utility knife and re-rolled, but this is a last resort. Proper technique during the initial roll-down should eliminate them.
The fleece backing on Valordek's 68mil Fuzzy-Back membrane is what makes this step more forgiving than smooth-backed products. The fabric texture creates a mechanical bond with the adhesive that is strong, consistent, and less sensitive to minor variations in adhesive coverage. This is one of the reasons the 68mil is the preferred choice for balcony applications and DIY installations.
Step 5: Heat-Welding Seams
Every seam where two pieces of membrane overlap must be heat-welded to create a watertight fusion. This is not a glue joint or a tape seal. A hot air welder melts the PVC on both overlapping layers and fuses them into a single continuous sheet. When done correctly, a heat-welded seam is as strong as the membrane itself.
- Overlap the seam. Membrane pieces should overlap by approximately 1.5 to 2 inches at every seam.
- Use a hot air welder. Valordek hot air welders are purpose-built for PVC membrane work and available through the accessories page. Set the temperature according to the manufacturer's specifications, typically between 400 and 500 degrees C depending on ambient conditions.
- Weld in a steady pass. Direct the hot air nozzle into the seam overlap while pressing the top layer down with a silicone roller immediately behind the nozzle. The PVC surfaces should soften and fuse without scorching or burning.
- Test the seam. After cooling, try to peel the seam apart with moderate force. A properly welded seam will not separate. If it does, re-weld the failed section.
Both Valordek product lines use heat-welded seams. This is not a differentiator between the 68mil and 60mil products. It is a standard feature of professional-grade vinyl decking installation that produces a permanent, watertight bond at every joint.
Step 6: Flashing and Edge Details
The seams between membrane sheets are only part of the waterproofing picture. Every edge, wall transition, drain, scupper, and post penetration needs to be sealed with flashing or sealant to prevent water from finding a path underneath the membrane.
- Wall-to-deck transitions: The membrane is run up the wall a minimum of 2 inches and sealed with flashing and sealant. This is the most common point of failure on decks that are not properly detailed.
- Drip edges: At the open edge of a balcony, the membrane wraps over the edge and is secured with a metal drip edge that directs water away from the structure.
- Drains and scuppers: Valordek PVC-coated scuppers and drains integrate directly with the membrane. The PVC coating allows the drain components to be heat-welded to the membrane for a seamless, leak-proof connection.
- Post penetrations: Any railing posts or other penetrations through the membrane require a collar of membrane or flashing heat-welded around the base, then sealed with MasterSeal NP1 sealant.
- PVC Flashing (60mil Smooth-Back): When installing the 60mil Smooth-Back on an open deck, PVC Flashing is required at all edges and transitions. This is a product-specific requirement that does not apply to the 68mil Fuzzy-Back.
Valordek's technical resources library includes 22 detail drawings covering every common flashing scenario. These drawings show exactly how to handle T-joints, inside corners, outside corners, threshold transitions, and drain installations. They are an essential reference for any installer working with vinyl decking membrane.
Step 7: Final Inspection
Before calling the job complete, a thorough final inspection catches any issues that are far easier to fix now than after furniture is in place and the deck is in use.
- Walk every seam. Run your hand along all heat-welded seams and check for any sections that feel loose or did not fully fuse.
- Check all edges and flashing. Verify that every wall transition, drip edge, and penetration is fully sealed. Pull gently on the membrane at edges to confirm adhesion.
- Test drainage. Pour water at the highest point of the deck and watch it flow toward the drains. Water should move freely across the membrane surface with no pooling in low spots.
- Inspect the membrane surface. Look for cuts, scuffs, or adhesive residue on the decorative surface. Clean any adhesive marks with the recommended solvent before they set.
- Trim excess material. Make clean, precise cuts at all edges where extra membrane extends past the drip edge or flashing line.
A properly installed Valordek membrane is now a continuous, watertight surface that will protect the structure underneath for years. The 68mil Fuzzy-Back carries a 15-year waterproofing warranty, and the 60mil Smooth-Back also carries a 15-year waterproofing warranty. Full terms are on the warranty page.
DIY vs Professional Installation
One of the most common questions about vinyl decking is whether you can install it yourself. The answer depends on which product you are working with.
Valordek 68mil Fuzzy-Back: DIY-friendly. The fleece backing on this membrane is forgiving during installation. It bonds well with contact adhesive even if your technique is not perfect, and the thicker 68mil material resists punctures during handling. Homeowners and general contractors with basic tools and careful attention to substrate preparation can achieve professional results. This is the product line most commonly used for residential balcony projects.
Valordek 60mil Smooth-Back: Professional installation required. The PVC-backed 60mil membrane is engineered for rooftop deck applications where fire rating, precise flashing, and code compliance are critical. The Sika 2170-R adhesive system and PVC Flashing requirements demand professional experience. This product is sold through contractors and certified dealers.
For DIY installers working with the 68mil Fuzzy-Back, here are the essentials:
- Take substrate preparation seriously. This is not a step to rush.
- Use only Valordek-approved adhesives (VD 0295 or VD 0220).
- Rent or purchase a hot air welder for the seams. Tape and caulk are not substitutes for heat welding.
- Watch Valordek's installation video (available on the website) before starting.
- Order free samples to practise your technique before working on the actual deck.
If you want professional installation, Valordek has 19+ authorized dealers across British Columbia, Alberta, and Saskatchewan who supply and install the product. You can also purchase the materials directly and hire your own installer.
For a detailed look at what vinyl decking costs for materials and installation, see our vinyl decking cost guide.
Frequently Asked Questions
Can I install vinyl decking over existing plywood?
Yes, provided the plywood is in good condition. The best substrate for Valordek vinyl decking is 5/8-inch tongue-and-groove plywood. It must be dry, structurally sound, smooth, and free of rot or delamination. Any damaged sections must be replaced and the entire surface patched and sanded before the membrane is applied. See our full guide on vinyl decking over plywood for detailed requirements.
How long does vinyl decking installation take?
A typical residential balcony (100 to 200 square feet) takes one to two days for a professional installer. Roughly half that time is substrate preparation. Larger rooftop decks or projects with complex flashing details may take two to three days. Weather conditions affect adhesive dry times, so installation should be done in dry conditions above 10 degrees C.
What tools do I need to install vinyl decking?
Essential tools include: a sharp utility knife and extra blades, a tape measure, a straight edge, a paint roller or V-notch trowel for adhesive, a heavy J-roller for pressing the membrane, a hot air welder for seams, sanding disks, and a vacuum or blower for dust removal. Valordek sells hot air welders, sanding disks, deck patch compound, and other installation tools through the accessories page.
Do I need to remove existing decking material first?
Yes. Vinyl decking membrane must bond directly to the plywood substrate. Any existing flooring material, whether that is old vinyl, tiles, carpet, or paint, must be completely removed and the plywood surface cleaned and prepped before a new membrane is installed. Installing over old material will prevent proper adhesion and void the warranty.
Is vinyl decking installation different for rooftop decks vs balconies?
The fundamental process is the same: prepare the substrate, apply adhesive, bond the membrane, and heat-weld the seams. The key difference is the product used. Balconies typically use Valordek's 68mil Fuzzy-Back membrane with VD 0295 adhesive. Rooftop decks use the 60mil Smooth-Back membrane with Sika 2170-R adhesive and require PVC Flashing at all open edges. The 60mil Smooth-Back also carries a Class A and C fire rating, which is often required by building code for rooftop applications. Both products are certified and exceed Canadian building code 37.54.95.