Yes, vinyl decking installs directly over plywood, and plywood is the ideal substrate for vinyl deck membrane. The recommended specification is 5/8-inch tongue-and-groove (T&G) untreated plywood, which provides the smooth, stable surface that vinyl membrane requires for proper adhesion. Valordek's vinyl membranes bond to plywood using contact cement adhesive or heat welding, creating a continuous waterproof surface starting at $3.74 per square foot.
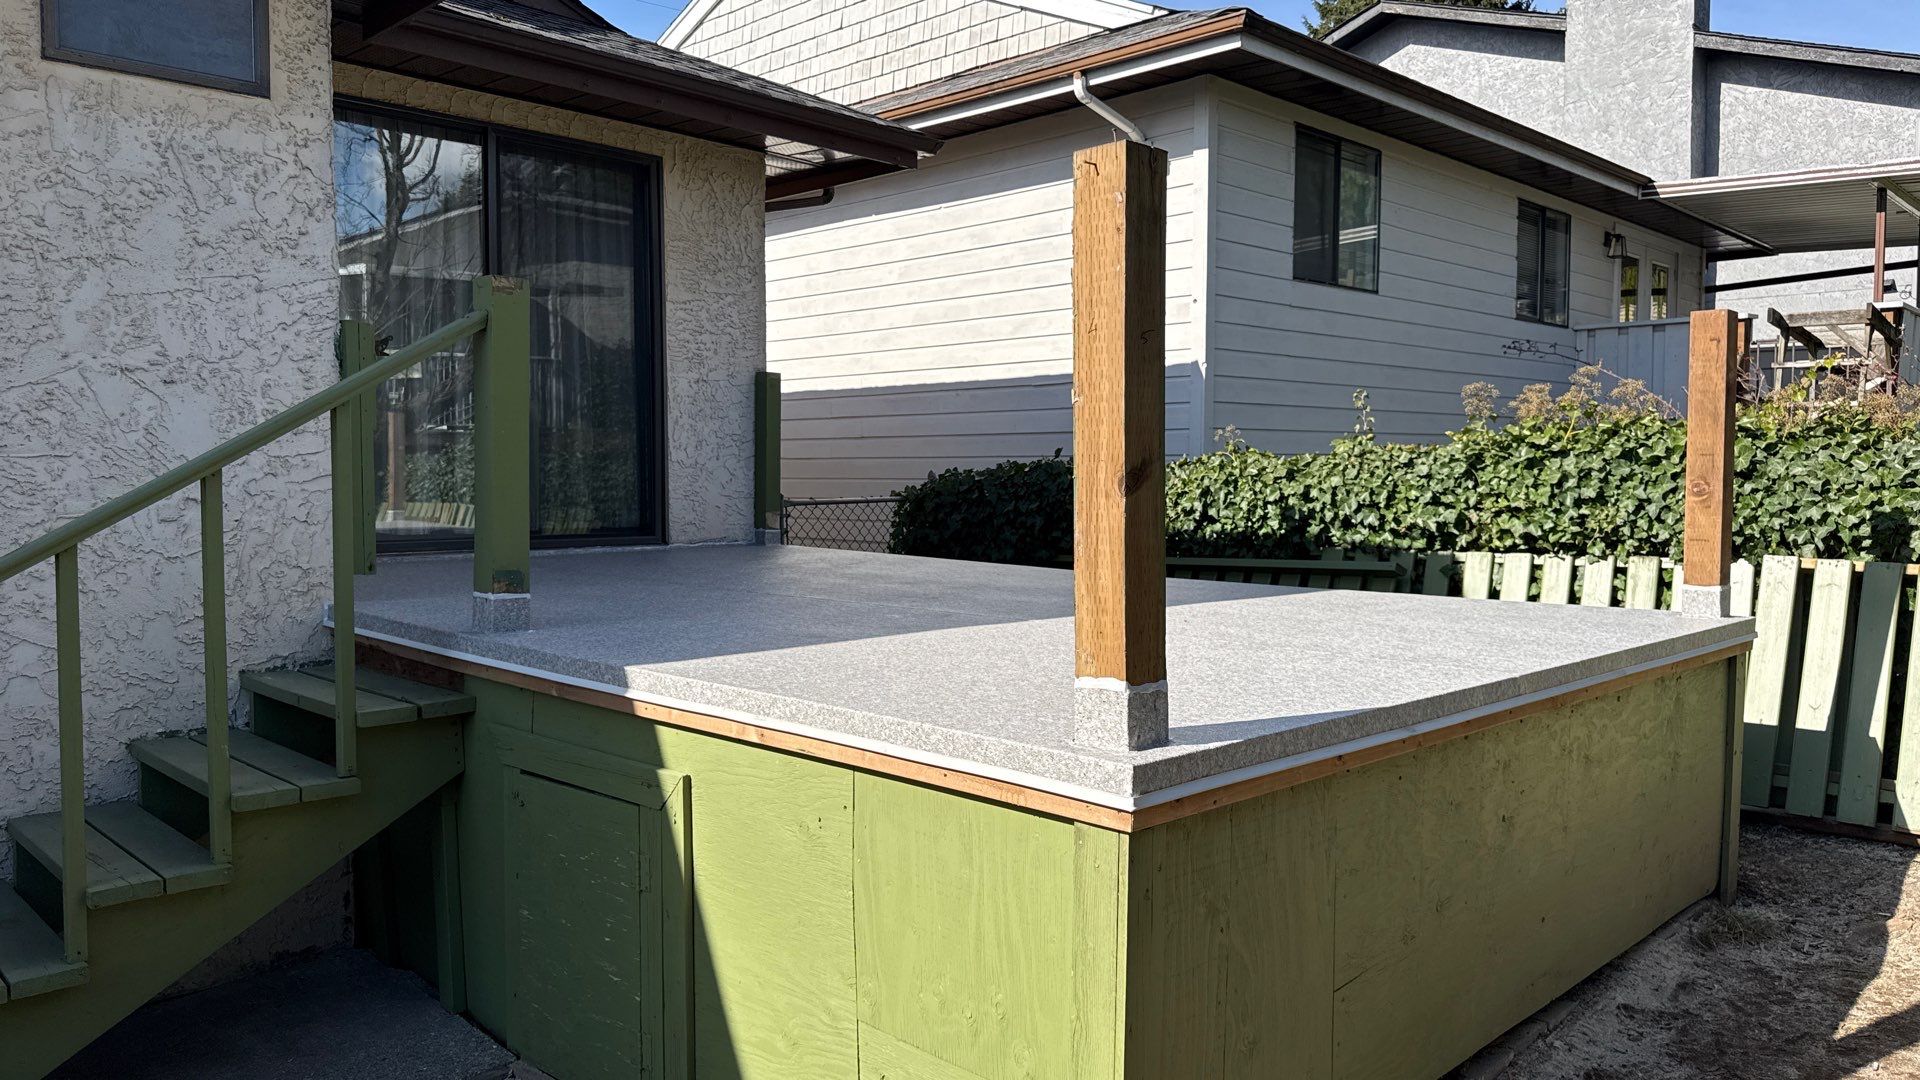
Plywood is the most common substrate for vinyl deck installations on balconies and elevated decks. But not all plywood works, and preparation matters more than most homeowners realize. Incorrect plywood type, insufficient surface prep, or moisture issues account for the majority of vinyl membrane failures. This guide covers the exact specifications, preparation steps, and mistakes to avoid so your vinyl decking installation lasts the full warranty period.

What Type of Plywood Works for Vinyl Decking?
The recommended plywood for vinyl deck membrane installation is 5/8-inch tongue-and-groove (T&G), untreated exterior-grade plywood. This specification provides the combination of thickness, stability, and surface quality that vinyl membrane requires for a lasting bond.
| Specification | Requirement | Why It Matters |
|---|---|---|
| Thickness | 5/8" minimum (3/4" preferred) | Prevents flex under foot traffic. Flex breaks the adhesive bond. |
| Joint type | Tongue and groove (T&G) | T&G joints create a flush surface. Butt joints leave ridges that telegraph through the membrane. |
| Treatment | Untreated only | Pressure-treated chemicals prevent adhesive bonding. The membrane will not stick. |
| Grade | Exterior-grade (CDX or better) | Exterior glue holds up to moisture before the membrane is installed. |
| Surface | Smooth, sanded face | Rough plywood surface creates uneven adhesion and visible imperfections under the membrane. |
| Moisture content | 12% to 14% at installation | Wet plywood causes adhesive failure. Dry plywood absorbs too much adhesive. |
The tongue-and-groove joint is particularly important. Standard butt-jointed plywood leaves gaps and height differences at every seam. These imperfections telegraph through the vinyl membrane over time, creating visible lines and potential adhesion weak points. T&G plywood interlocks to create a continuous, level surface.
Can You Install Vinyl Decking Over Existing Plywood?
Yes, if the existing plywood meets the specifications above and passes a condition inspection. Many vinyl deck membrane projects are resurfacing jobs where the homeowner is replacing a failed coating, worn paint, or damaged previous membrane. The plywood substrate often survives the old surface and can be reused.
Before installing new vinyl membrane over existing plywood, inspect for these five conditions:
- Structural integrity: Walk the entire surface. Any soft spots, bounce, or flex indicate delaminated or rotted plywood that must be replaced.
- Moisture damage: Check the underside of the deck (if accessible) for water stains, mould, or swelling. Surface moisture readings above 14% require drying time before installation.
- Surface condition: The plywood face must be clean, smooth, and free of old adhesive residue, paint, or coating. Sand or scrape the surface to bare wood.
- Fastener condition: All screws and nails must be flush or countersunk. Protruding fasteners will puncture the membrane from below.
- Slope: Verify the deck slopes toward drainage points at a minimum of 1/8 inch per foot (2% grade is ideal), so water drains properly. Standing water on a flat deck will eventually find a way through.
If more than 20% of the plywood panels need replacement, consider replacing the entire deck surface. Patching individual panels into an aging substrate creates inconsistent adhesion and mixed lifespans.
How to Prepare Plywood for Vinyl Deck Membrane
Proper surface preparation is the difference between a vinyl deck that lasts 15 years and one that fails in 3. Every imperfection in the plywood surface will telegraph through the vinyl membrane over time. Preparation takes a few hours but protects a warranty investment of 15 years.
Step 1: Fill all imperfections
Patch all screw holes, knots, gouges, cracks, and plywood joint gaps with a cement-based patching compound like MAPEI Planipatch. Do not use wood filler alone. Cement-based compounds cure harder and sand smoother than wood fillers, and they do not shrink.
Step 2: Sand the entire surface
Sand all plywood joints, patched areas, and rows of fasteners with a floor edger or belt sander. The goal is a uniformly smooth surface with no ridges, bumps, or rough spots. Run your hand across every seam after sanding. If you can feel it, you will see it through the membrane.
Step 3: Clean thoroughly
Remove all dust, debris, and loose material. Sweep first, then vacuum. Any particle trapped between the plywood and membrane becomes a visible bump or a weak point in the adhesive bond.
Step 4: Check moisture content
Use a moisture metre to verify readings between 12% and 14%. If the plywood is too wet (above 14%), allow it to dry. If working in humid conditions, tent the surface to prevent moisture absorption before membrane installation.
Step 5: Verify drainage slope
Place a level across the deck surface. Water should flow toward scuppers, drains, or the deck edge at a minimum slope of 1/8 inch per foot. If the slope is insufficient, shim the substrate or apply a self-levelling compound to correct drainage before installing the membrane.
Step 6: Dry-fit the membrane
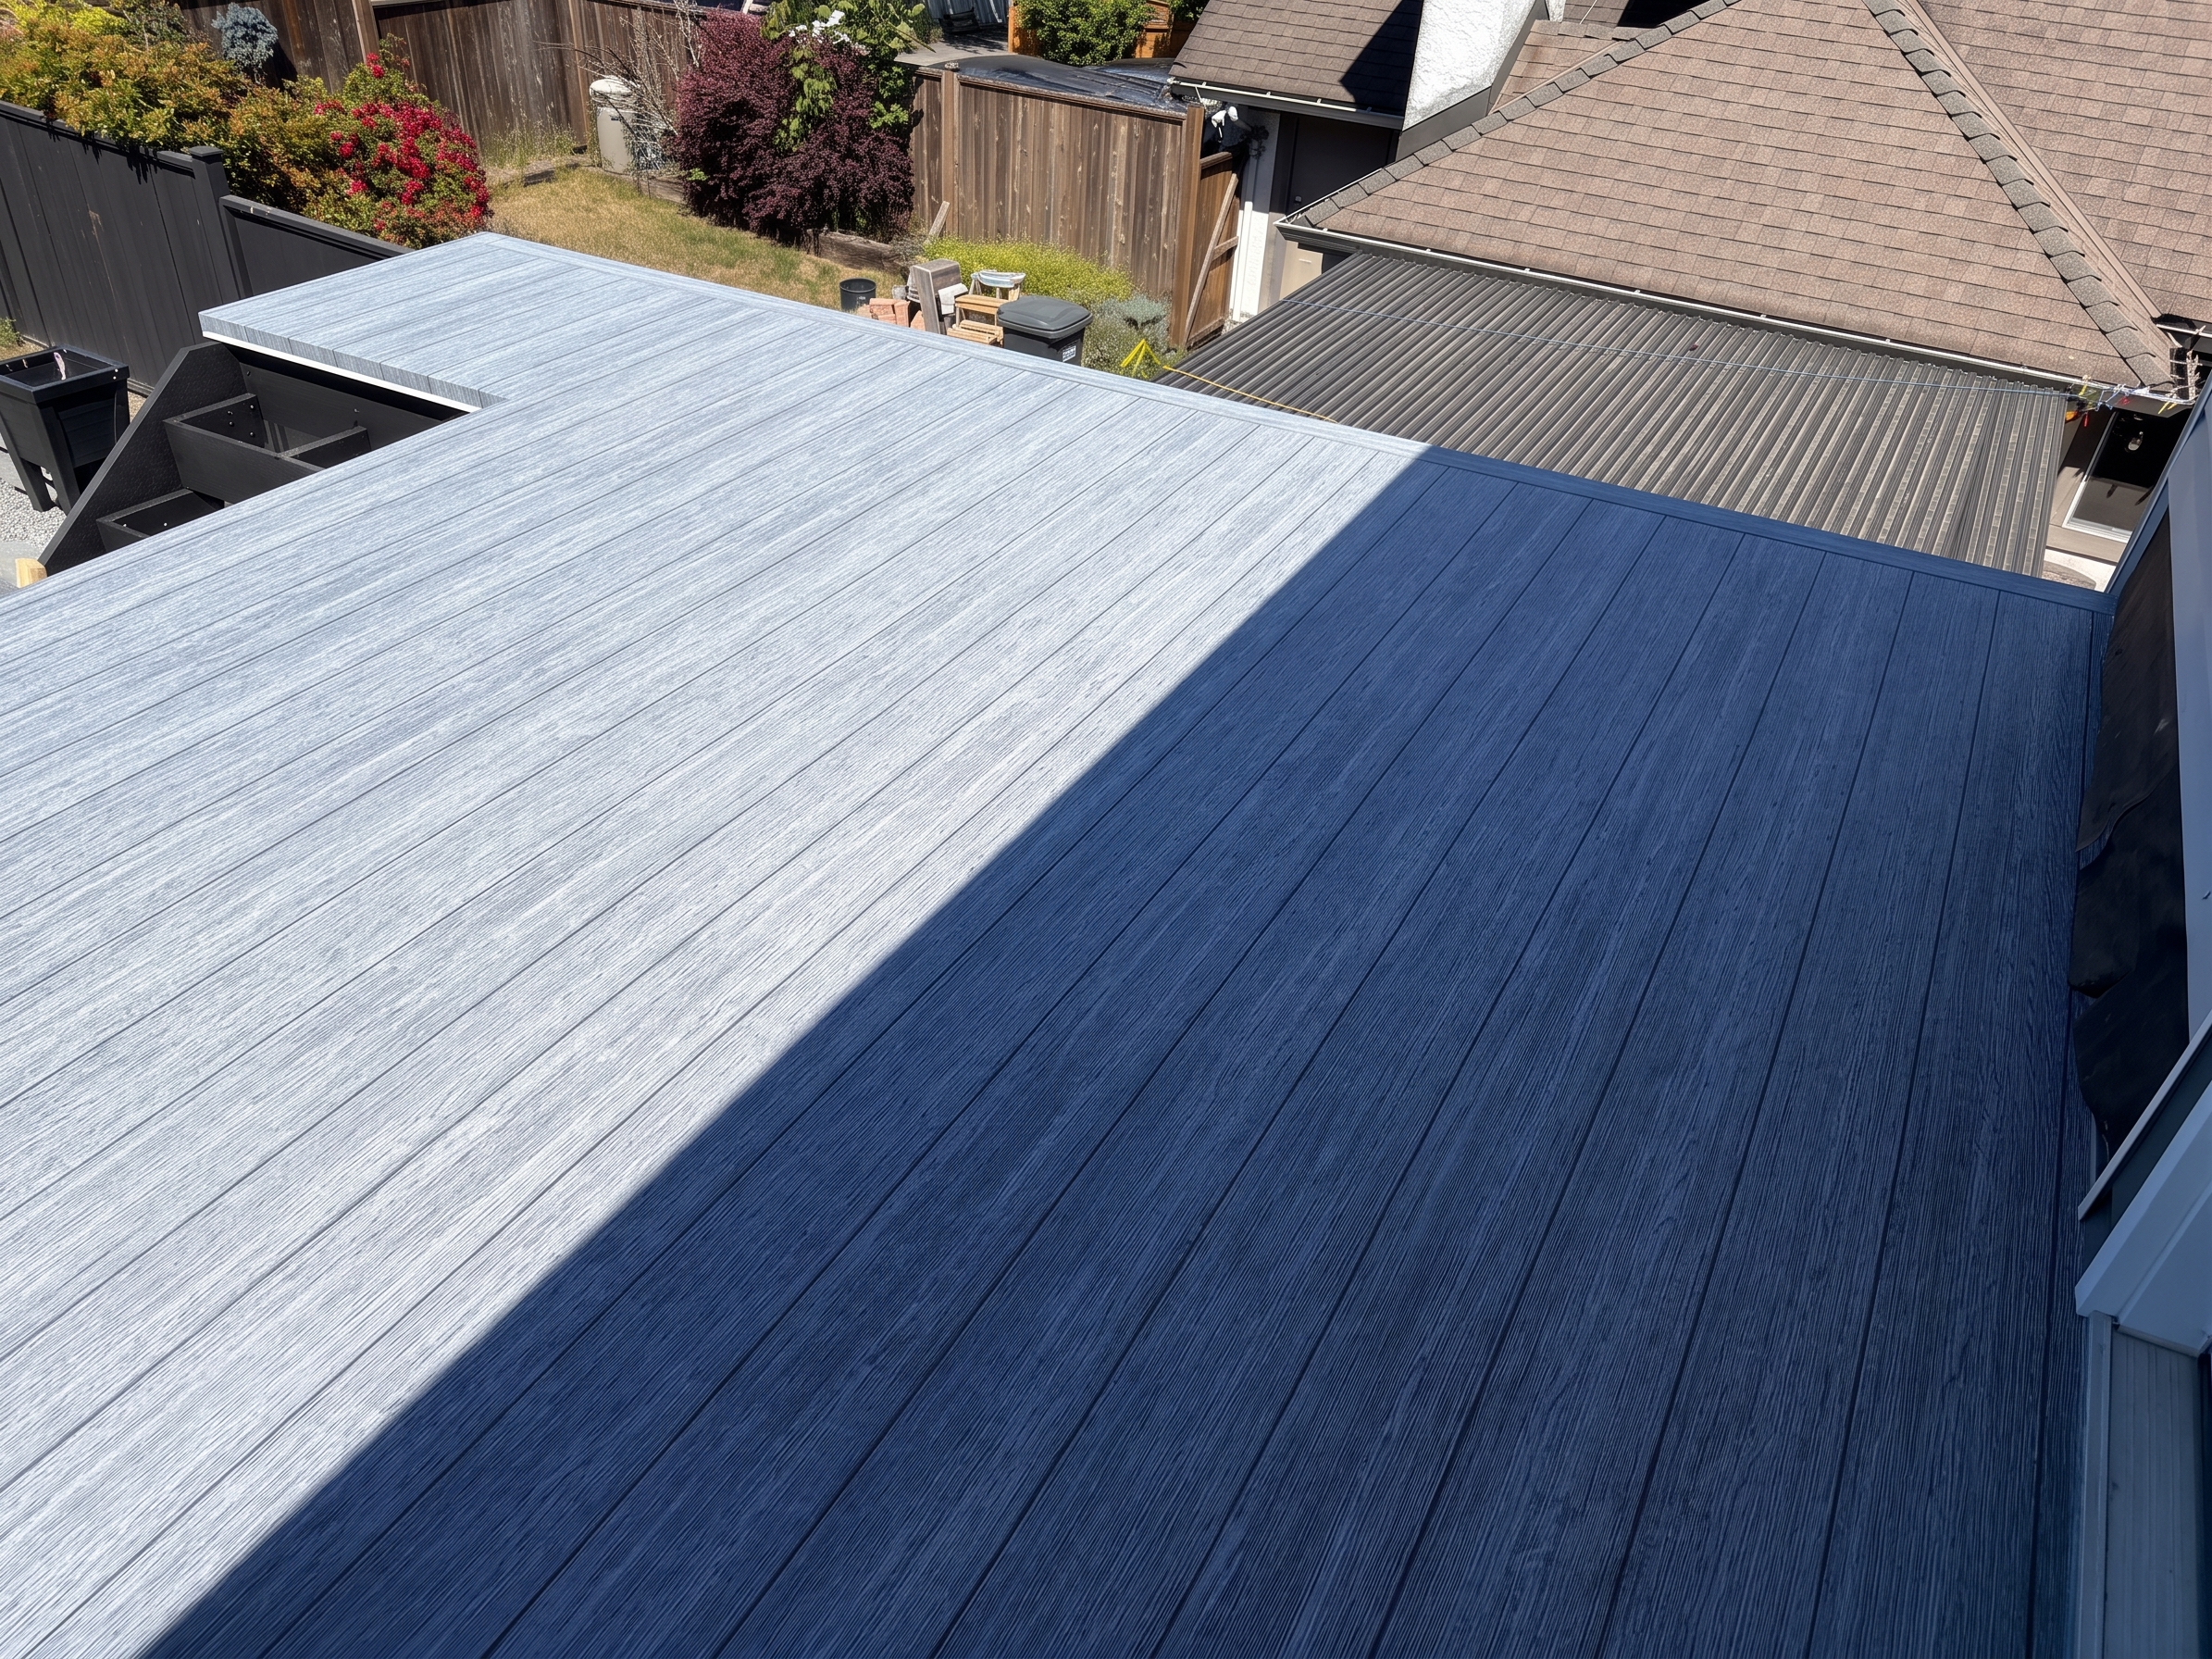
Unroll the vinyl membrane across the prepared surface to verify fit and plan seam locations. Valordek membranes come in 72-inch wide rolls up to 480 lineal feet. Plan seams to fall in low-traffic areas and ensure adequate overlap for waterproof sealing.

What Surfaces Should You Avoid?
Vinyl deck membrane bonds reliably to two substrates: untreated plywood and untreated concrete. Other surfaces create adhesion problems, void warranties, or trap moisture.
| Surface | Can You Install Vinyl Over It? | Why |
|---|---|---|
| Untreated plywood (T&G) | Yes. Ideal substrate. | Smooth, stable, bonds well with contact cement. |
| Untreated concrete | Yes. Second-best substrate. | Requires clean, smooth surface. Patch cracks and level first. |
| Pressure-treated plywood | No. | Treatment chemicals prevent adhesive bonding. Membrane will not stick. |
| OSB (oriented strand board) | No. | Rough surface, swells when exposed to moisture, delaminates. |
| Particle board | No. | Disintegrates with moisture exposure. Not suitable for exterior use. |
| Existing tile or stone | No. | Uneven surface, grout lines telegraph through membrane. |
| Painted or sealed surfaces | No (unless fully removed). | Adhesive bonds to the paint, not the substrate. Paint peels, membrane fails. |
If your deck has pressure-treated plywood, the treatment chemicals must be completely removed (sanding to bare wood) or the panels replaced with untreated plywood before vinyl installation.
Adhesive vs Heat-Welded Installation on Plywood
Valordek offers two installation methods, each designed for specific applications. Both work on plywood substrates, but the installation approach and skill requirements differ significantly (see our full guide on how vinyl decking is installed).
| Factor | Fuzzy-Back (Adhesive) | Smooth-Back (Heat-Welded) |
|---|---|---|
| Membrane thickness | 68mil | 60mil |
| Bonding method | Contact cement adhesive | Hot air welding |
| DIY suitable? | Yes, for experienced homeowners | No. Requires professional installer. |
| Seam method | Overlapped with adhesive bond | Heat-welded PVC (molecular bond) |
| Waterproofing warranty | 15 years | 15 years |
| Best for | Balconies (residential) | Rooftop patios (commercial) |
| Fire rating | Standard | Class A and C |
For most residential balcony projects, the adhesive-applied Fuzzy-Back membrane is the practical choice. The fleece backing bonds to plywood using contact cement. An experienced homeowner can install it as a DIY project, though professional installation ensures warranty coverage. For rooftop patios and commercial projects, heat-welded Smooth-Back provides the strongest seam integrity and carries a 15-year waterproofing warranty.
Common Plywood Mistakes That Cause Membrane Failure
Most vinyl deck membrane failures trace back to substrate problems, not membrane defects. Avoid these common mistakes to protect your investment.
- Using butt-jointed plywood instead of T&G: Butt joints create ridges that telegraph through the membrane and separate over time, creating a weak point in the waterproof layer.
- Skipping surface preparation: Every bump, hole, or rough spot in the plywood shows through the membrane within months. Take the time to patch, sand, and clean.
- Installing on wet plywood: Moisture trapped under the membrane has nowhere to go. It causes adhesive failure, blistering, and eventually mould growth in the substrate.
- Using pressure-treated plywood: The treatment chemicals react with contact cement and prevent proper bonding. The membrane lifts and water infiltrates.
- Insufficient drainage slope: A flat deck allows water to pool. Standing water finds every imperfection in the membrane and eventually penetrates. Always slope toward drainage.
- Leaving protruding fasteners: A single raised screw head will puncture through the membrane under foot traffic. Countersink every fastener and patch over it.
All of these issues are preventable with proper preparation. Valordek's CCMC and Intertek certifications verify the membrane's waterproofing performance when installed on a properly prepared substrate.
Frequently Asked Questions
What thickness plywood do you need for vinyl decking?
Use 5/8-inch minimum thickness, tongue-and-groove, untreated exterior-grade plywood. Three-quarter-inch T&G plywood is preferred because it reduces flex under foot traffic. Thinner plywood flexes and breaks the adhesive bond between the membrane and substrate.
Can you put vinyl decking over treated plywood?
No. Pressure-treated plywood contains chemicals that prevent contact cement from bonding to the wood surface. The vinyl membrane will not adhere properly and will lift over time. Replace treated plywood with untreated exterior-grade plywood before installing vinyl membrane.
Can you install vinyl decking over concrete?
Yes. Untreated concrete is the second-best substrate for vinyl deck membrane after plywood. The concrete must be clean, smooth, and free of sealers or coatings. Patch any cracks or uneven areas with a cement-based compound before installation. Valordek membranes bond to concrete using contact cement.
How long does vinyl decking last on plywood?
Valordek vinyl deck membrane carries a 15-year waterproofing warranty (both Fuzzy-Back and Smooth-Back) when installed on a properly prepared substrate. Actual lifespan often exceeds warranty coverage. The membrane is rated from -40°C to 80°C for year-round performance.
Do you need to seal plywood before installing vinyl decking?
No. Do not seal, paint, or treat the plywood before installing vinyl deck membrane. The contact cement adhesive must bond directly to bare wood. Any coating between the adhesive and the plywood surface weakens the bond and can cause membrane failure.